Is your photo well taken, but still not quite what you expected?
The focus is spot-on, the image is sharp, and the exposure gives you the right contrast, but things still look kind of flat?
That’s where Structure AI in Luminar can help. With it, you can easily enhance textures and details in a more intelligent, content-aware way to add more depth to your photos.
In this guide, you’ll learn what Structure AI does, how its controls work, how to use it effectively, and which types of photos benefit most from it.
You’ll also learn how it compares to Details and Supersharp AI, so you know which tool to choose for different situations.
Finally, I’ll cover practical tips to get stronger results and show you some before-and-after examples.
Keep on reading to see how Structure AI can fit into your editing workflow.
What is Structure AI in Luminar?
Structure AI in Luminar is a detail enhancement tool. The AI analyses your photo to determine where to apply the effect. As a result, you’ll have richer and more textured images without them looking overly processed.
This is what makes Structure AI different from tools like Clarity and Sharpness. These tools make global edits without distinction between skin, the sky, or grass.
It’s also important to note what Structure AI isn’t: a tool to fix blurry or out-of-focus pictures. Instead, it enhances the texture and local contrast that already exist in your image. The idea is to make surfaces like rocks, foliage, wood, etc. more defined.
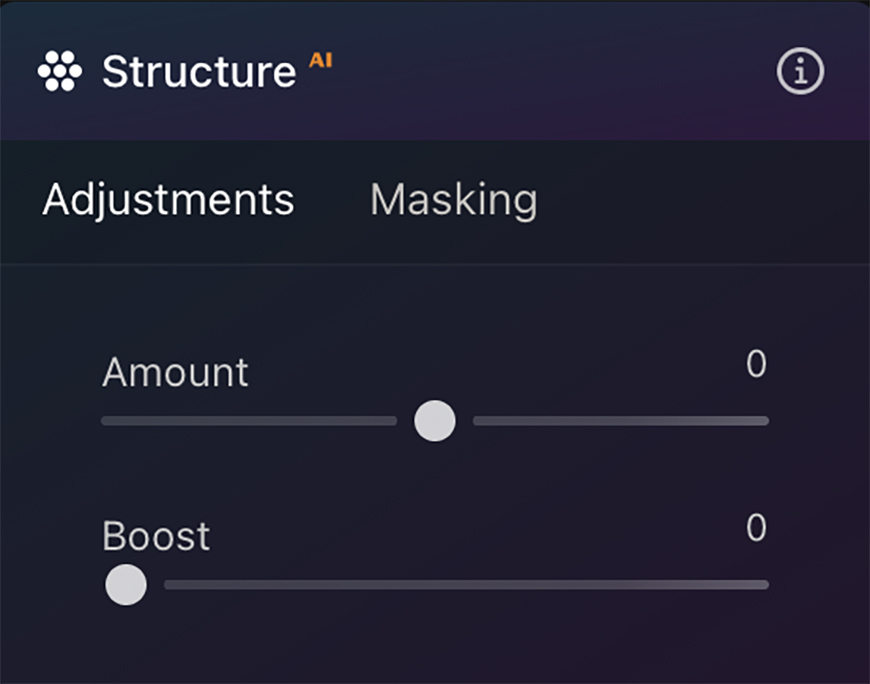
Structure AI main controls
Amount
This slider controls the overall strength of the structure enhancement. Lower values have a subtle effect, and increasing it makes the difference more evident.
It’s also possible to move the slider to the left and get negative values. This will remove details and soften the image.
Boost
This slider accentuates the details more aggressively than the Amount slider. So, move it slowly. In this case, it’s not possible to go to the left. If you’re removing details, simply leave it at zero.
How to Use Structure AI in Luminar
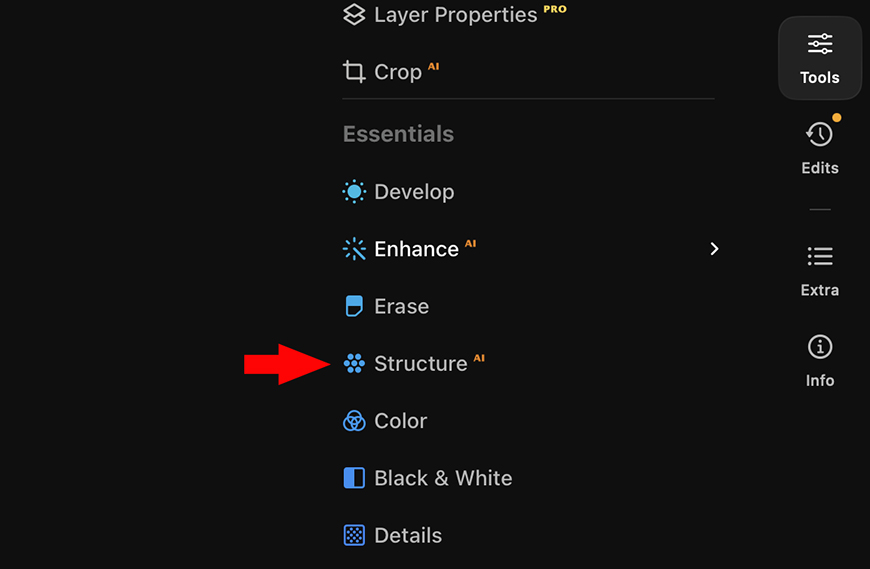
- Launch Luminar and import your photo into the Catalog.
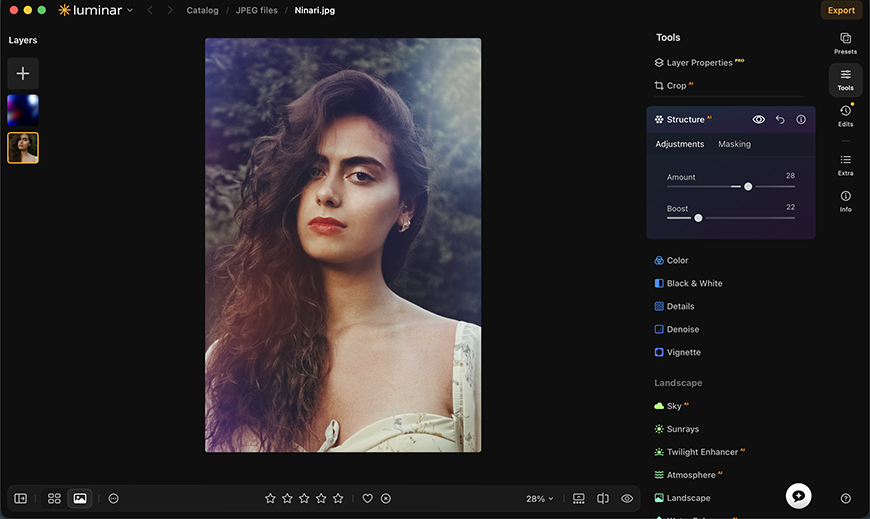
- Click Tools on the right-side panel to display the editing tools.
- On the Essentials panel, find Structure AI and click on it.
- Adjust the Amount to control the overall strength of the effect.
- Use Boost to increase the effect on details and textures.
- Use Masking if you want to contain the effect to a specific area of the picture.
- Fine-tune the result while checking both zoomed-in and at 100% zoom.
When Should You Use Structure AI?
Whenever a photo has textures or details that need an extra oomph, that’s when Structure AI can help.
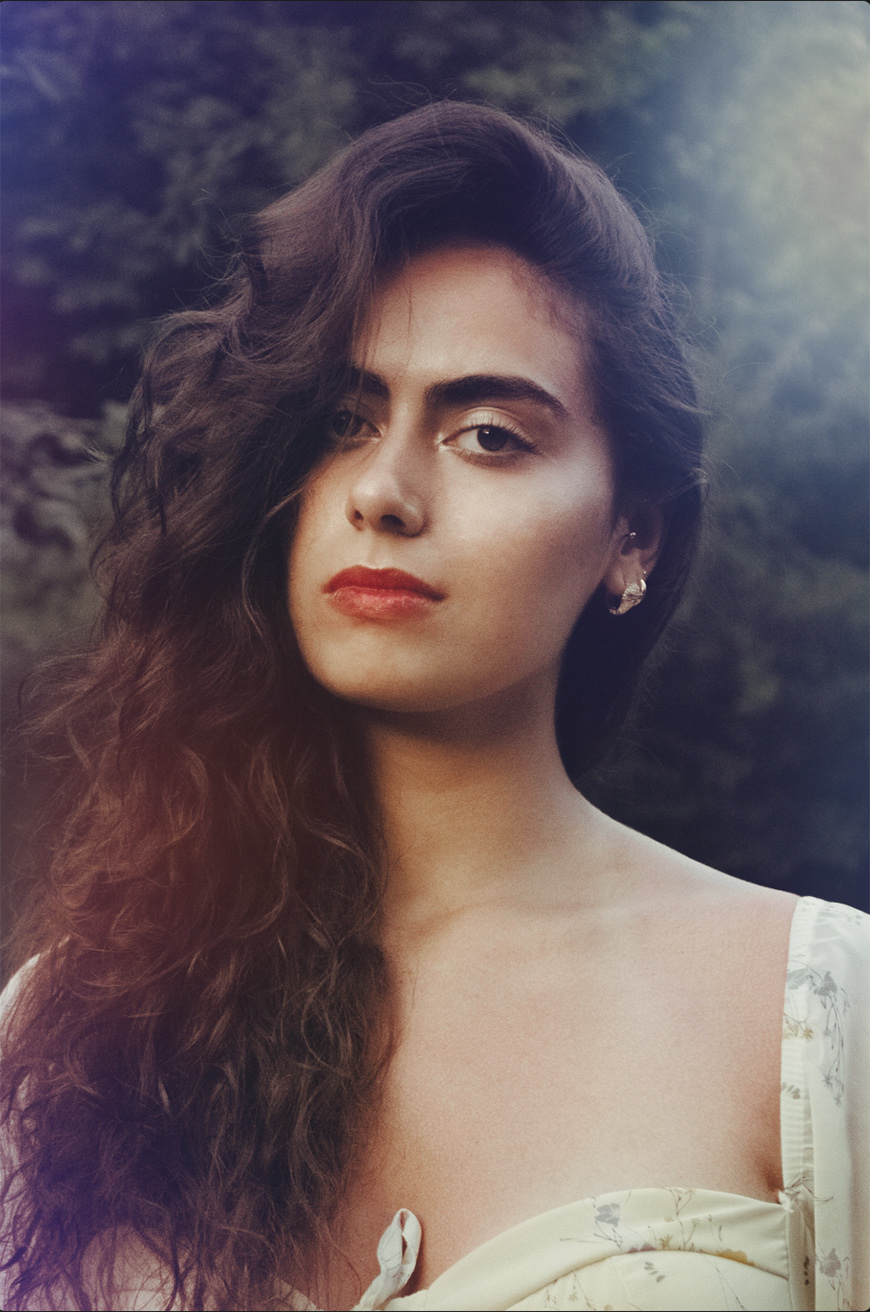
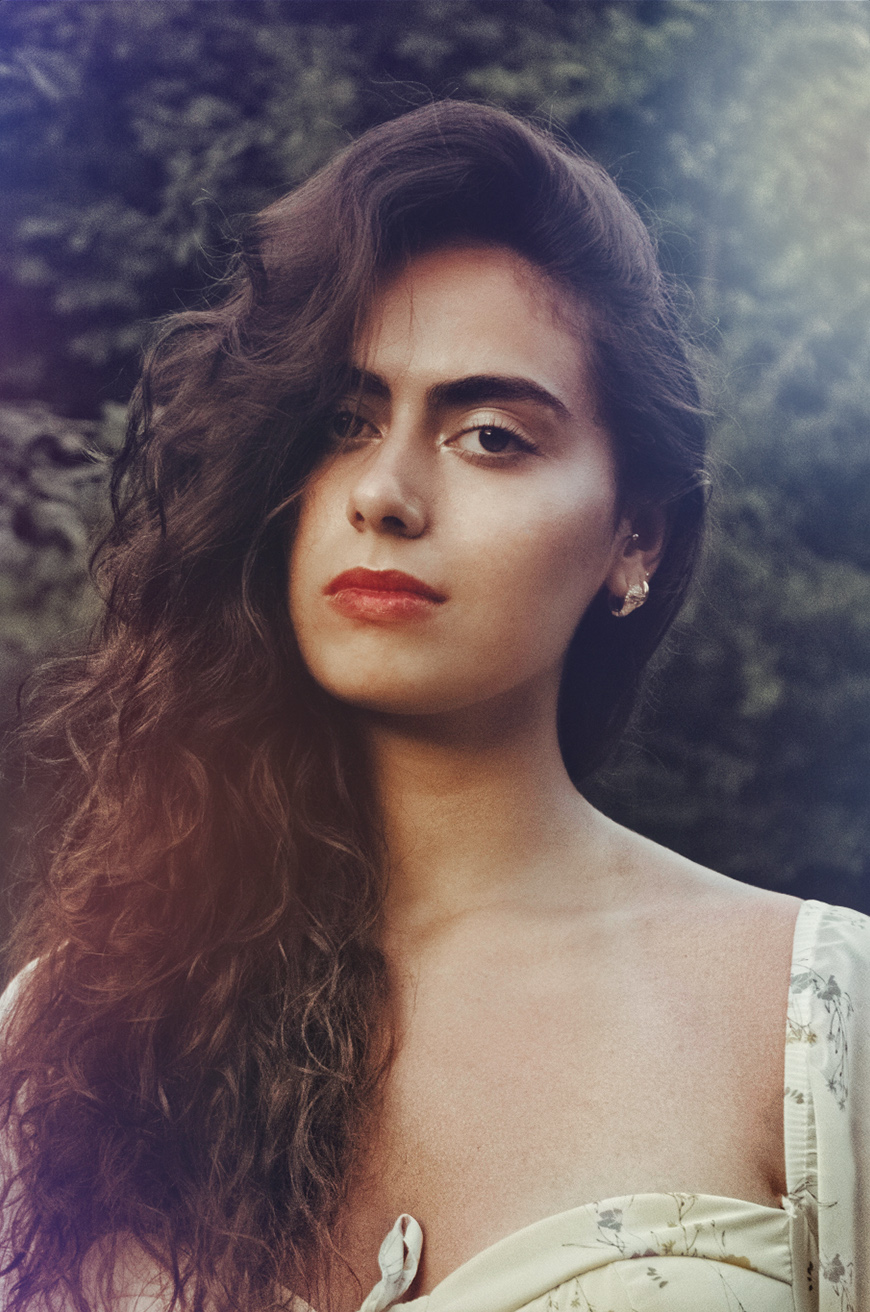
This tool is particularly effective for portraits, as it was designed to be human-aware. This way, it protects the soft texture of the skin while enhancing the details of other elements in the picture when needed.
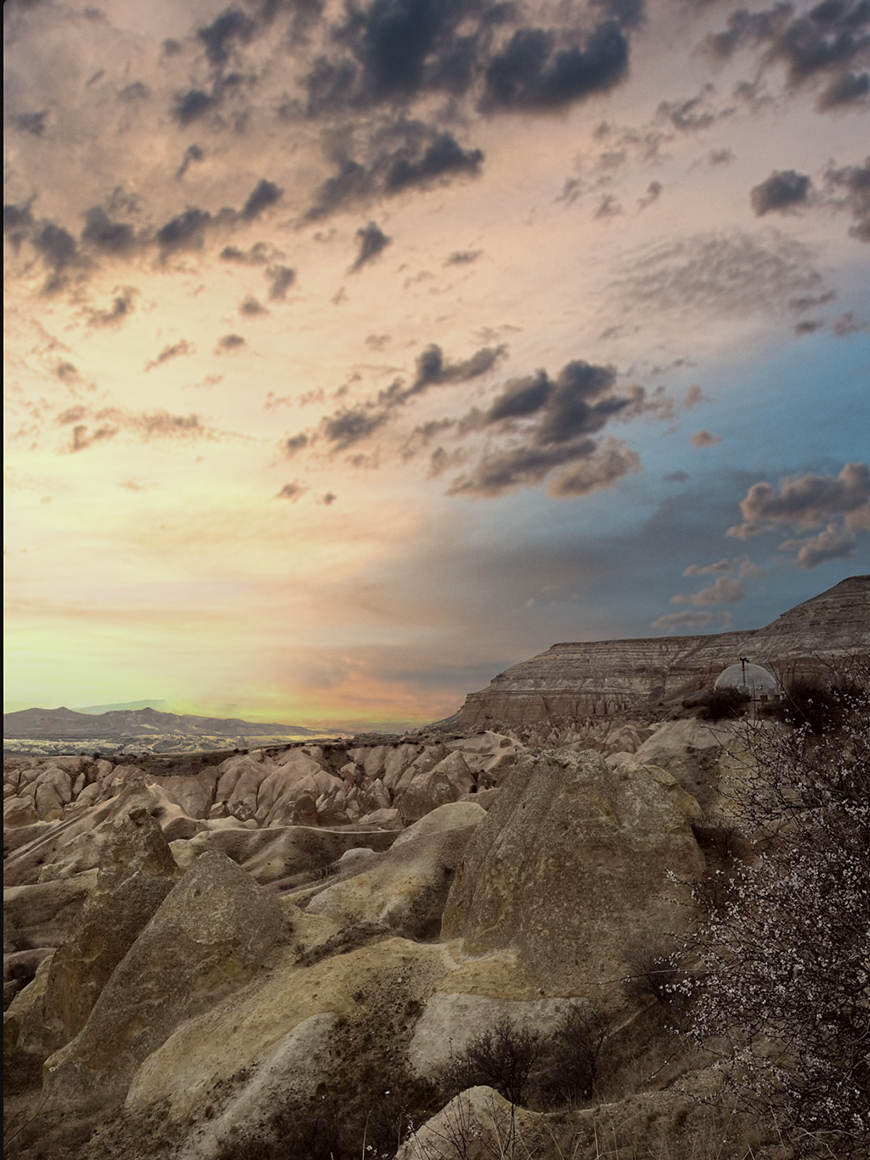
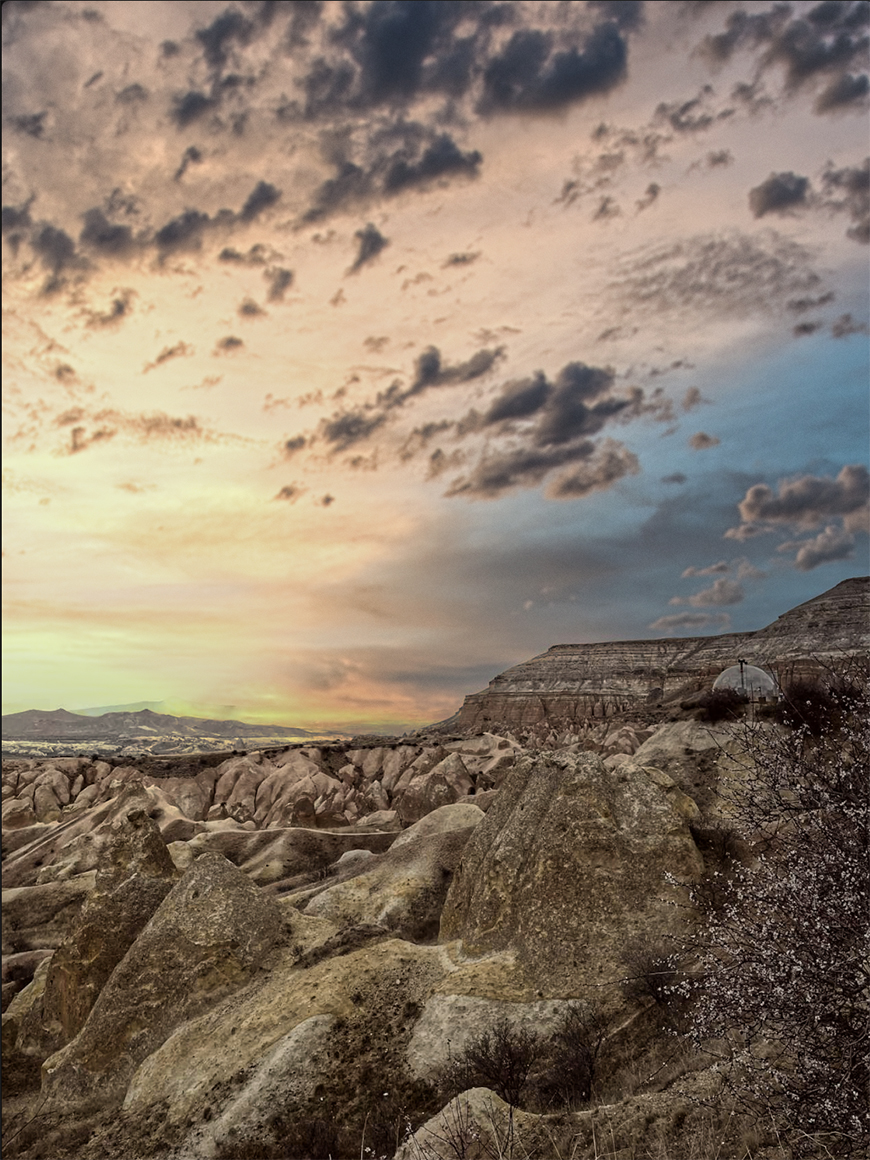
However, Structure AI is not just for portraits. In landscape photography, it can bring out the details in rocks, mountains, trees, grass, and dramatic clouds without making the entire image look artificially sharpened.
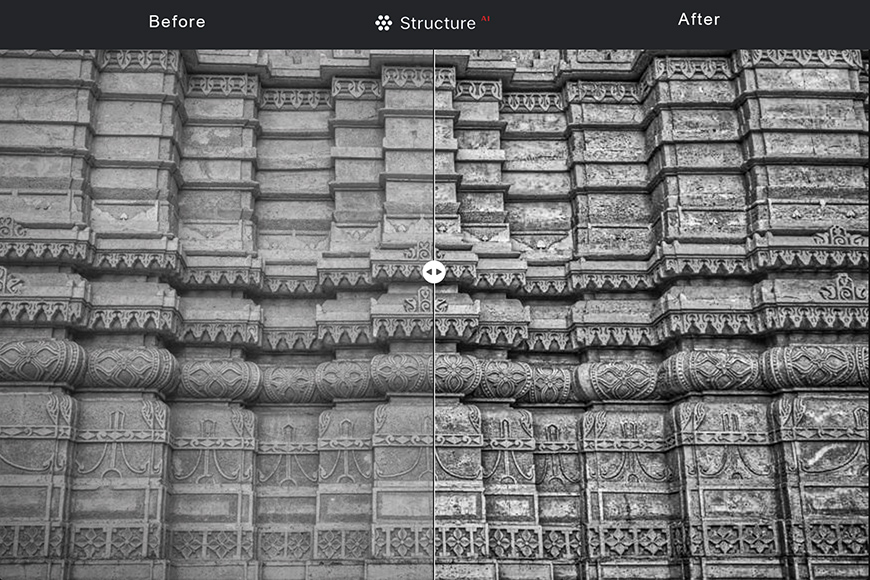
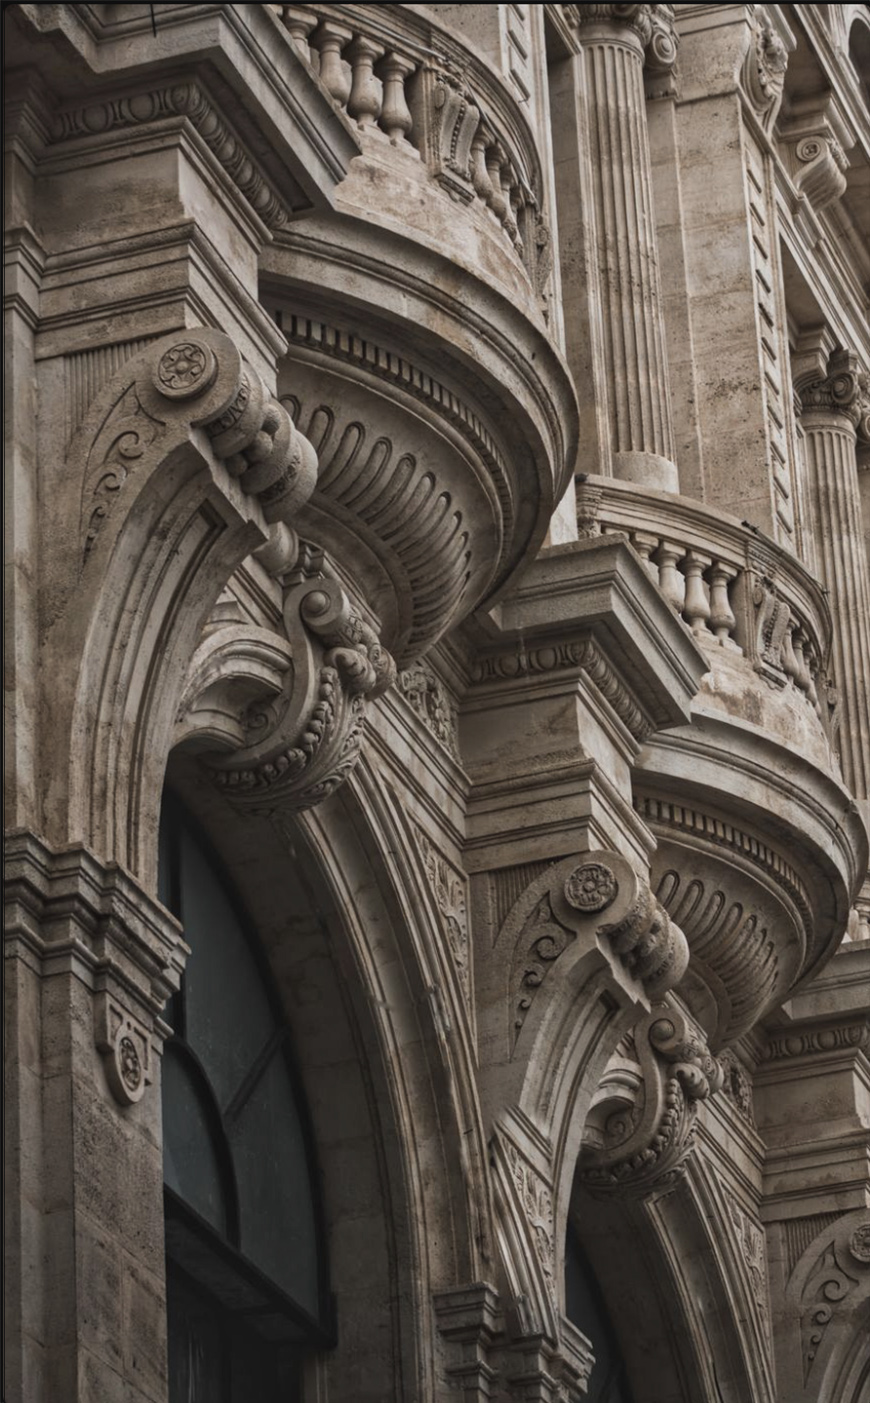
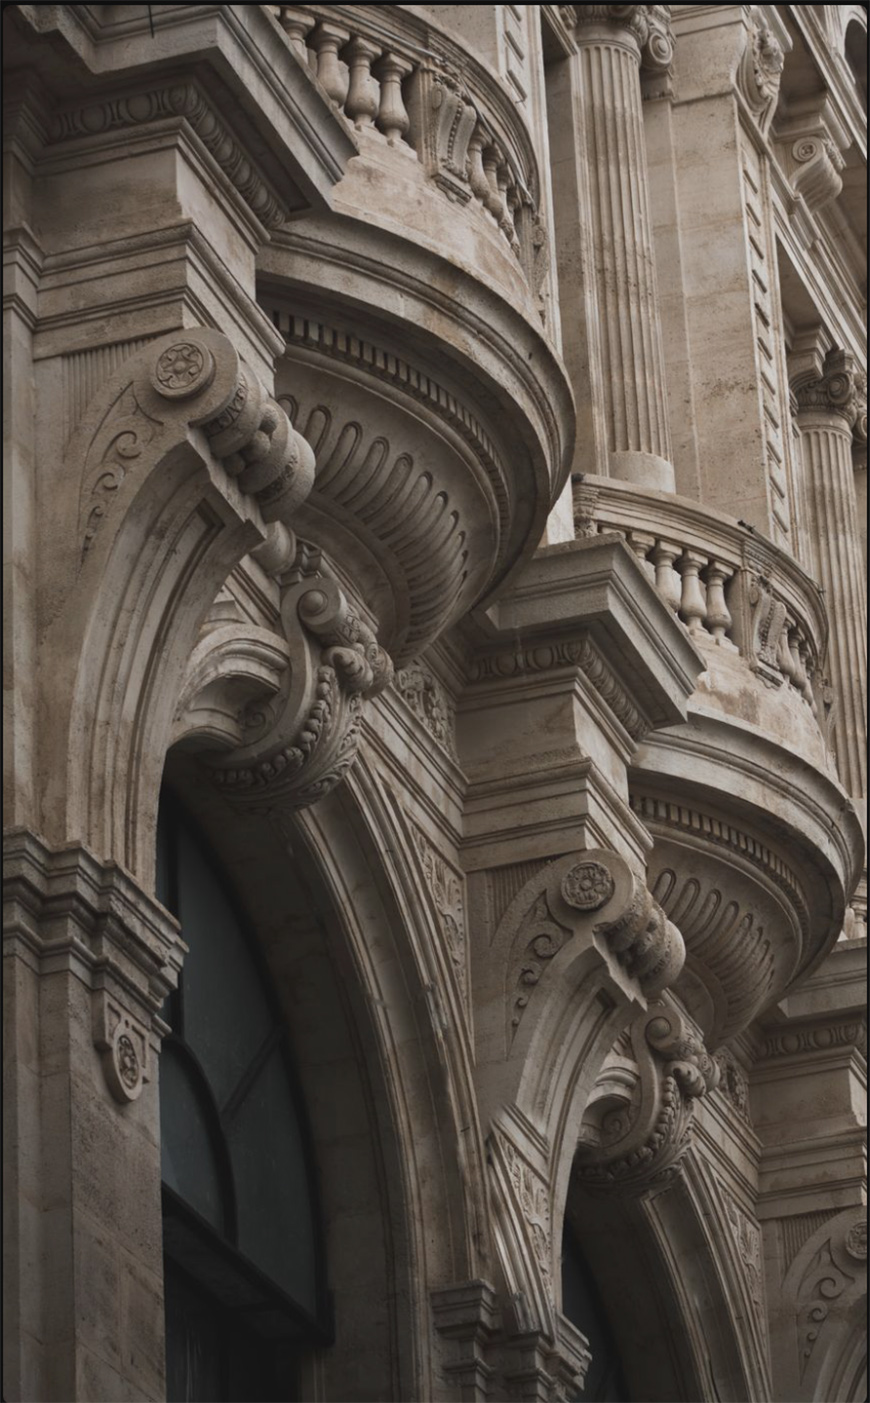
Architecture photos can also benefit from Structure AI. Brick walls, stone facades, metal surfaces, windows, and other architectural details can look more three-dimensional when applied correctly.
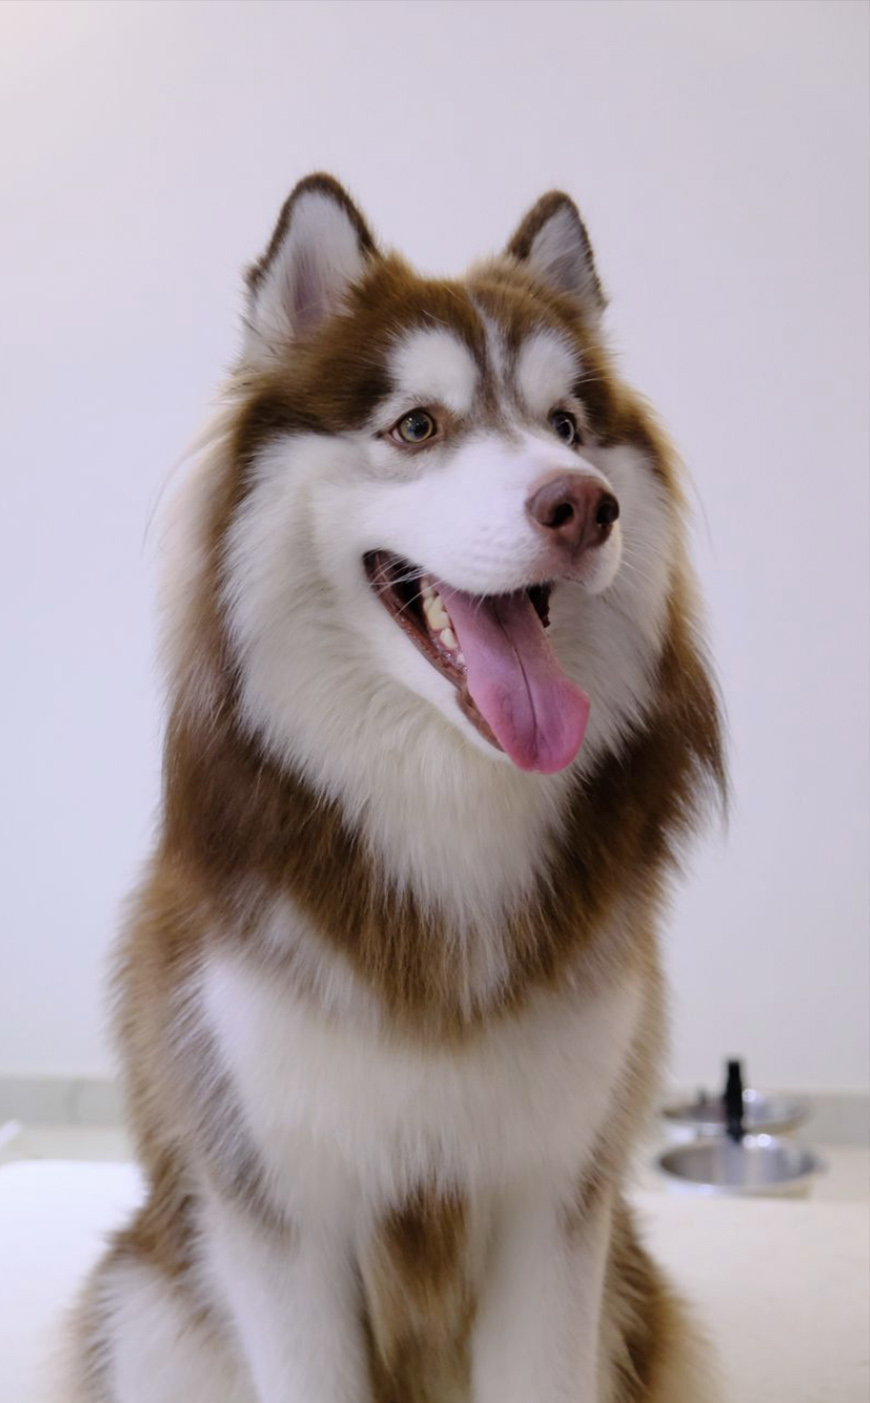
Wildlife photographers can also achieve great results using Structure AI. Fur, feathers, and other animal textures can appear richer and more lifelike with a subtle boost, making the subject stand out.
Travel photography can become more visually engaging when you apply Structure AI to historic buildings, produce carts on street markets, and other textured objects.
You can make Structure AI work with almost any type of photo. The key thing to remember is that it’s designed to enhance textures and details that are already present in the image. It’s not a tool for recovering detail lost to motion blur, camera shake, or missed focus.
Structure AI vs. Supersharp AI vs. Details: What’s the Difference?
The difference between Structure AI, Supersharp AI and Details is often a source of confusion. All three tools are meant to make your photo appear more detailed, but they do it in different ways.
Understanding when to use each one will help you achieve better results from your photo editing.
Structure AI
Structure AI is designed to enhance existing texture and local contrast in a smart, selective way. Instead of affecting the entire image equally, it analyses the scene and emphasizes details in textured areas while protecting others, such as skin. This is the best choice when you want to add depth and make natural textures stand out.
Use Structure AI when you want to enhance texture, clarity, and contrast while keeping the effect natural and protecting people. It’s also useful when you want to remove details, as it supports negative values.
Details
While Structure AI is more content-aware, Details gives you precise control using traditional editing algorithms to adjust small, medium, and large detail levels.
However, while you can target specific details by size, it will apply it wherever it finds those details in the image, regardless of what the subject is. It also includes an overall Sharpen control to improve the clarity of soft edges.
Use Details when you want precise, manual control over sharpening and individual levels of detail.
Supersharp AI
Compared with Structure AI, which enhances textures and clarity, Supersharp AI is better suited to actually correcting blur.
It is specifically designed to recover sharpness from blur caused by movement, missed focus, or camera shake, using AI to analyze the image and stabilize details.
Instead, it differs from Details in that it automatically reconstructs lost sharpness, rather than giving you precise manual control over small, medium, and large details.
Use Supersharp AI when a photo suffers from motion blur, missed focus, or camera shake and needs AI-powered sharpness recovery.
Structure AI: Tips and Best Practices
One of the biggest mistakes you can make is assuming that more detail always makes a better photo. When editing, a less-is-more approach will often produce more natural results.
Portraits are a good example. Structure AI is human-aware and is designed to keep faces and skin looking natural while enhancing detail in surrounding areas.
Even so, applying too much can make hair, beards, clothing, and other textures look unnaturally crisp in comparison.
You should also check the results carefully when editing group photos, side profiles, or partially obscured faces, as the AI may not always interpret every person or facial area as expected. So, don’t be afraid to zoom in and toggle Structure AI on and off; you can do this by clicking the eye icon on the panel.
Another situation where you should tread lightly with Structure AI is when working with smooth surfaces such as a clear blue sky, fog, or softly blurred backgrounds. These areas are meant to remain smooth, so adding too much detail can create an artificial look or ruin the atmosphere.
Finally, watch out for images with digital noise. Noise is usually an unwanted texture you don’t want to emphasize, unless you’re going for a vintage effect or other creative approach. So, consider reducing the noise first with Noiseless AI, then apply Structure AI if necessary.
Structure AI Before and After Examples
Landscape photography
Portrait photography
Architecture photography
Pet or wildlife photography