.noise-blog {
max-width: 900px;
margin: 0 auto;
padding: 20px;
font-family: Arial, Helvetica, sans-serif;
color: #171717;
line-height: 1.7;
font-size: 16px;
}
.noise-blog * {
box-sizing: border-box;
}
.noise-blog h1,
.noise-blog h2,
.noise-blog h3 {
color: #111;
line-height: 1.25;
margin-top: 35px;
margin-bottom: 15px;
}
.noise-blog h1 {
font-size: 36px;
}
.noise-blog h2 {
font-size: 28px;
}
.noise-blog h3 {
font-size: 22px;
}
.noise-blog p {
margin: 0 0 20px;
}
.noise-blog a {
color: inherit;
text-decoration: none;
}
.noise-blog .hero-image,
.noise-blog .section-image {
width: 100%;
display: block;
margin: 20px 0 30px;
border-radius: 12px;
height: auto;
}
.noise-blog .summary {
margin-bottom: 30px;
}
.noise-blog .video-image {
width: 100%;
display: block;
margin: 15px 0 25px;
border-radius: 12px;
height: auto;
}
.noise-blog .faq-section {
margin-top: 45px;
}
.noise-blog .faq-item {
border-bottom: 1px solid #ddd;
padding: 18px 0;
}
.noise-blog .faq-item summary {
cursor: pointer;
font-weight: 600;
font-size: 17px;
list-style: none;
position: relative;
padding-right: 30px;
}
.noise-blog .faq-item summary::-webkit-details-marker {
display: none;
}
.noise-blog .faq-item summary::after {
content: “+”;
position: absolute;
right: 0;
top: 0;
font-size: 22px;
font-weight: 400;
}
.noise-blog .faq-item[open] summary::after {
content: “−”;
}
.noise-blog .faq-content {
padding-top: 12px;
color: #444;
}
.noise-blog .author-box {
margin-top: 45px;
padding-top: 20px;
border-top: 1px solid #ddd;
font-size: 14px;
color: #555;
}
@media (max-width: 768px) {
.noise-blog {
padding: 15px;
font-size: 15px;
line-height: 1.65;
}
.noise-blog h1 {
font-size: 30px;
}
.noise-blog h2 {
font-size: 24px;
}
.noise-blog h3 {
font-size: 20px;
}
.noise-blog .hero-image,
.noise-blog .section-image,
.noise-blog .video-image {
border-radius: 8px;
margin-top: 15px;
margin-bottom: 22px;
}
.noise-blog .faq-item summary {
font-size: 16px;
}
}

Summary
This is a how-to guide to help you get to know and set up your Noise REP Band. In a few short steps, with a video for each, it covers pairing, wearing it the right way, charging, changing the strap, restarting or resetting, and reading the lights, everything you need for a smooth first day and beyond.
Pair it with the NoiseFit App
Getting connected takes a couple of minutes. Place the band on its charging dock until you see the breathing blue light, open the NoiseFit App, and follow the prompts to find and pair your band. The video walks through the whole process.
Wear it the right way
Where and how you wear the band decides how accurate your readings are. The short version: sensor against your skin, on your inner wrist, a one-finger gap from the wrist bone, snug but comfortable. The video shows the exact placement, how to slide the frame to the logo before you put it on, and the common mistakes to avoid.
Charge it
The Noise REP Band charges on the dock from the box with a Type-C cable, and a full charge lasts up to 10 days. Topping up fully takes roughly 45 minutes to 1 hour depending on the current level. The video shows how to place it on the dock for charging.
Change your strap
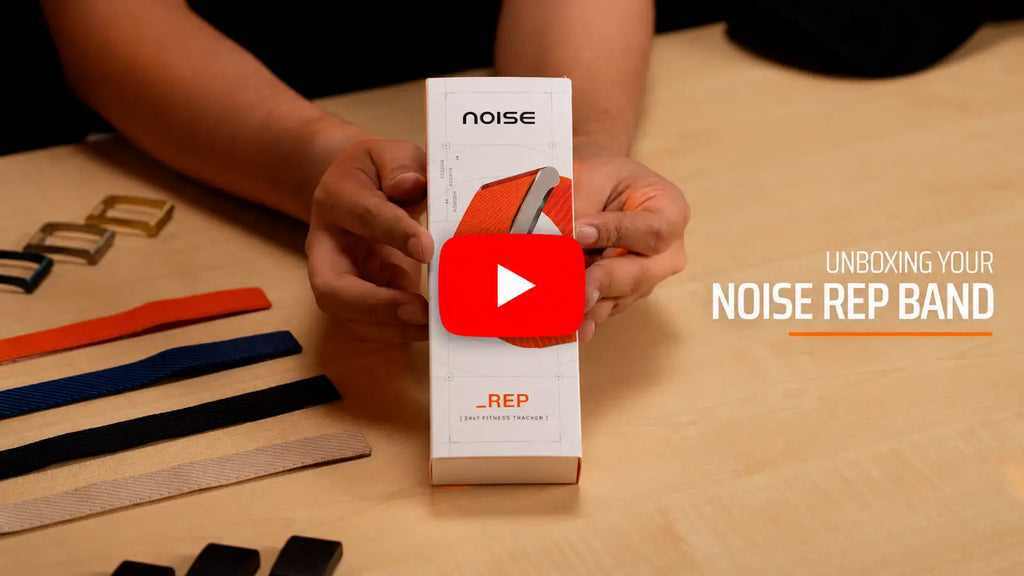
Switch between all four colourways: Vivid Orange, Navy Blue, Classic Black, and Sand Beige, whenever the mood changes. The video shows how to swap the strap and set the band back up for a secure fit, with the sensor facing your skin and the usual one-finger gap from the wrist bone.
Restart or reset
If something needs a fresh start, you can restart the band from the NoiseFit App, or reset it from either the app or the band itself using the charging dock. A restart reconnects on its own in seconds, while a reset unpairs the band so you can set it up again. The video walks through each route step by step.
Understand the lights
With no screen, the light on the band is how it talks to you. Green, yellow, and red show your battery level, a breathing effect means it is charging, and blue means pairing: flashing while it searches, solid once connected. The video breaks down every colour and pattern so you always know what your band is telling you.
Start tracking
Once your band is paired and worn correctly, it tracks around the clock, and your Sleep, Recovery, and Effort scores build in the NoiseFit App. Set it up right, wear it consistently, and it does the rest.
FAQ
How do I put my Noise REP Band into pairing mode?
Place it on the charging dock with the Type-C cable connected. When you see a breathing blue light, the band is ready to pair from the NoiseFit App. Full steps are in the pairing video above.
How long does it take to charge the Noise REP Band, and how long does it last?
A full charge takes roughly 45 minutes to 1 hour depending on the current level, and lasts up to 10 days with round-the-clock tracking on.
What do the light colours mean?
Green, yellow, and red show battery level, a breathing effect means charging, and blue means pairing. The lights video has the full breakdown.
What should I do if my Noise REP Band is not connecting with the NoiseFit App?
Reset it, either from the app by unpairing and pairing again, or from the band using the charging dock. The restart and reset video walks through both.
What colours does it come in?
Vivid Orange, Navy Blue, Classic Black, and Sand Beige.