iPadOS has come a long way in recent years. Gone are the days in which the iPad was simply a blown-up version of the iPhone, with the tablet’s operating system now sporting Mac-like features including a mouse cursor, a Menu Bar, and cascading windows.
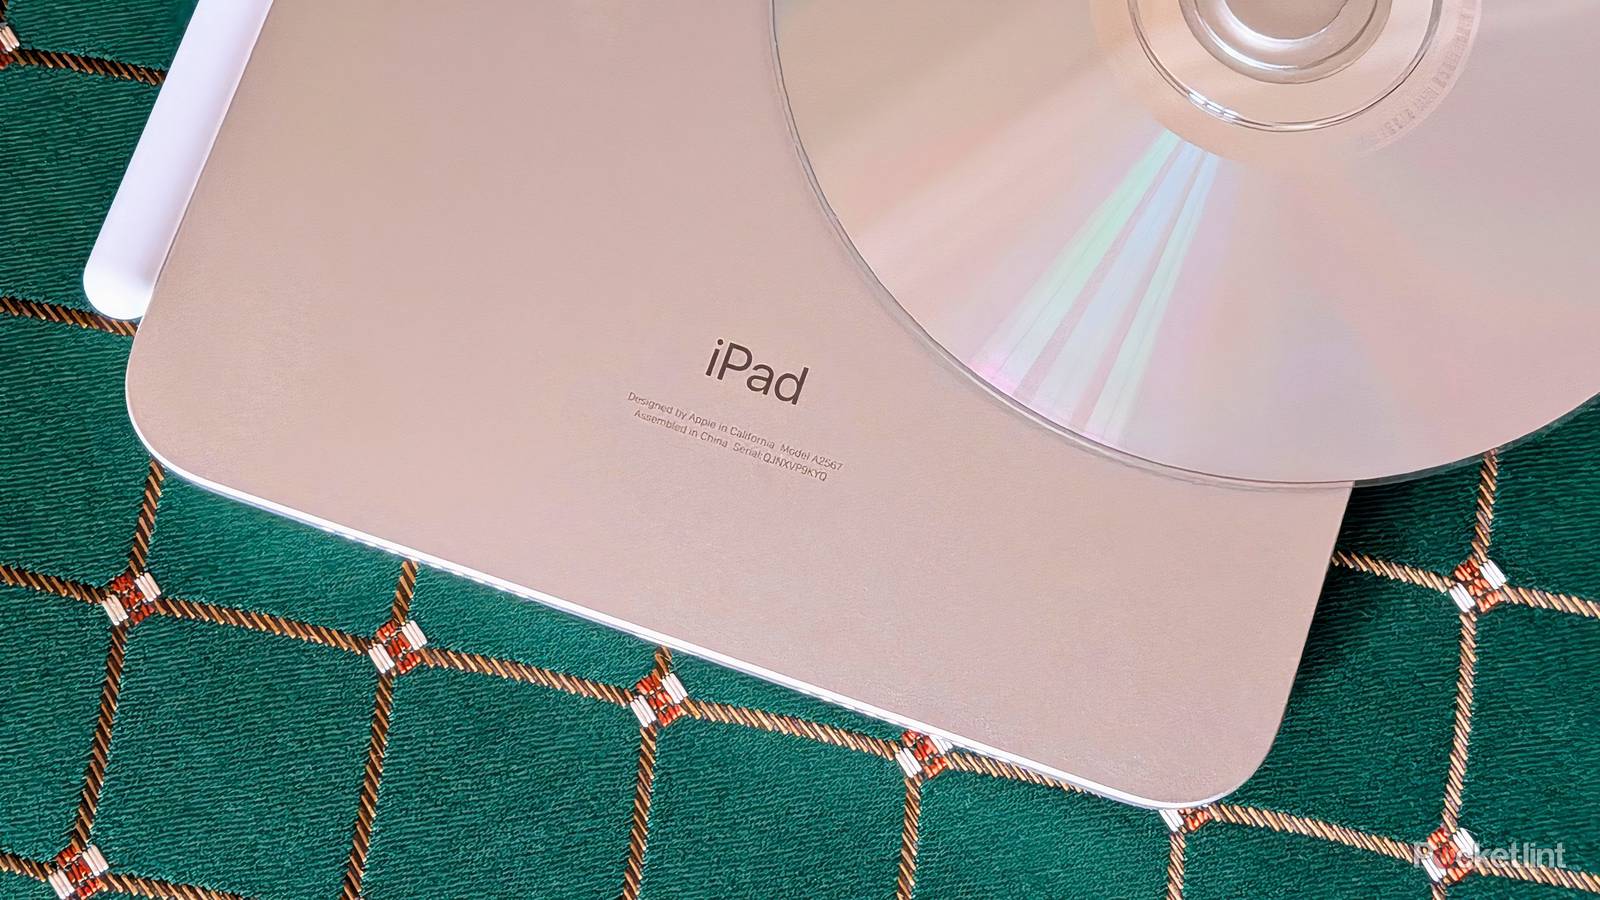
One computing feature that’s yet to make the transition over to the iPad is native compatibility with optical disc formats like CDs and DVDs. Indeed, you cannot play back, rip, or burn optical media directly via an iPad, owing to the platform’s lack of ability to interface with an external disc drive.
That being said, it’s certainly possible to transfer over the contents of an optical disc to an iPad, though it requires the use of a Mac or a PC to facilitate the process. In my own case, I’ve transferred a number of CD albums and DVD movies and TV shows right onto my iPad mini, allowing me to leverage the convenience of a tablet form factor to better enjoy my media.
Below are the steps required to transfer a DVD collection directly onto an iPad. Assuming you have access to a computer, the process itself only takes a few short minutes to complete. It should be noted that ripping DVDs is a legal grey area — never share or distribute your ripped files, and stick to ripping home videos as opposed to copy protected materials.

- Brand
-
Apple
- Storage
-
128GB, 256GB, 512GB
- CPU
-
A17 Pro
- Operating System
-
iPadOS 18
- Battery
-
Up to 10 hours
- Ports
-
USB-C (10Gbps)
Apple’s 7th generation miniature-sized iPad, complete with an A17 Pro chip for full-fledged Apple Intelligence support.
Step 1
Rip the DVD(s) onto a Mac or a PC

To start with, you’ll need to rip the contents of your DVD collection onto a traditional computer — that is, a Mac, a PC, or a Linux-based rig. If your computer has a built-in disc drive, you can simply insert your discs into it, but, if not, then you’ll need to employ the use of an external USB-powered disc drive.
Once your disc is connected to your computer, you’ll need to use a DVD ripping program to transfer the contents of the disc onto an external drive. Some popular DVD ripping applications include:
The exact steps required to rip the contents of your DVDs will vary based on the software program you choose to use, but, overreaching, the process involves hitting a simple Start or Run button, and waiting a few minutes for the disc’s files to be placed onto your computer’s drive (or onto a connected external drive).
Step 2
Transfer the file(s) to your iPad

Once the ripping process itself is complete, you’ll next need to transfer the files onto your iPad. There are three main ways to go about this, which I’ll break down below:
- Via a cable: you can tether your iPad directly to your computer through a wired USB connection to transfer files. On a Mac, you can use the Finder application to sync video files. On a PC, you can use either iTunes or Apple Devices to do the same.
- Via the cloud: you can opt to transfer files using a cloud storage provider like Dropbox, Google Drive, OneDrive, or iCloud. This solution requires downloading the respective storage provider’s application onto both your computer and your iPad.
- Via AirDrop/LocalSend/WeTransfer/etc.: You can wirelessly transfer files using a combination of Wi-Fi Direct, Bluetooth, and other network protocols. AirDrop is limited to the Apple Ecosystem, while most other solutions are cross-platform.
Once you’ve successfully transferred over your video files, you can natively play them back on your iPad using either the default media player within iPadOS, or via a third-party application like VLC, Infuse, or Outplayer. Personally, I stick with VLC as it supports a vast number of video formats and codecs, all while being lean and open-source.
And, there you have it. When all is said and done, you can enjoy the entirety of your legacy DVD collection right on your iPad, with the convenience of mobile-first hardware to boot. Of course, I’d recommend keeping your optical discs around as a backup, and as a way to preserve their contents physically now and well into the future.