Updated July 28, 2026 04:57PM
Here at Backpacker, we’re fans of DIY camping gear. Over the years, we’ve cataloged how to create your own tent, backpack, camp shoes, and rain jacket pit zips, among many others.
Most self-made camping gear involves a sewing machine, which can make it tough to get started if you don’t have the budget (or desk space) to buy one. But to make your own self-inflating sleeping pad like the original 70s-era Therm-a-Rests, you don’t need to know how to sew at all. In fact, all you need is a yard or two of specialized heat-sealing fabric, a clothes iron, some foam, and an air valve.
We’re focusing on a sleeping pad in this tutorial, but heat-sealing fabrics can also be used to make a host of different inflatable or waterproof gear items, like camp pillows, dry bags, or even entire backpacks. Read on to learn more.
Why make a self-inflating pad?
Self-inflating pads have gone out of style in a major way. Today, most hikers have moved on to thicker, comfier air pads, while minimalists opt for the durability and simplicity of closed-cell foam mats. Once the king of comfort, self-inflators are heavier and thinner than air pads, but less durable than closed-cell foam. So why bother making one in the first place?
In my opinion, there’s one specific kind of self-inflating pad that’s still useful, especially for ultralighters, and that’s the thin, torso-length mummy pad. Make a pad like this, and it will be lighter than just about any full-length air pad. Plus, it’s more dependable: If it does pop a leak, you still have some foam for insulation and cushioning. Compared to closed-cell foam, it’s a decent comfort upgrade for just a few ounces of extra weight.
The real kicker is that this style of pad is pretty hard to find nowadays. So if you want a small, lightweight self-inflating pad of your own, your best bet might be to make it yourself.
The Supplies
First up are a few general supplies that you probably already have on hand. You need a table or desk that’s at least 4 feet wide. It also needs to be able to withstand some heat from your iron, so something made of wood is better than plastic. If you have no option other than a nice table, you should put down a thick heat-resistant fabric to protect it.
To cut your fabric, you’ll need scissors and, if you have one, a rotary cutter. For the pattern, find a pen or pencil to trace with, as well as a big sheet of paper or cardboard to serve as your pattern piece. Finally, you’ll need an iron. In my tutorial, I use a heat-sealing iron, but a household clothing iron would work as well.
Then there’s the building blocks of the pad itself. These are materials you probably don’t have on hand. Luckily, there are really only three things you need.
- A heat-sealable fabric. My recommendation is a 70-denier nylon.
- A TPU heat-sealable air valve.
- Open-cell foam. In this tutorial, I’m using three-quarter-inch foam, but that makes for a pretty spartan pad. One inch is probably the best option, but you can always go thicker for extra comfort.
Drafting Your Pad Pattern
The first thing to do is draft your pattern. You get to make it any size you want: torso-length, 3/4-length, extra wide, you could even make it a double pad to use with a partner. That said, starting with a smaller pad will definitely make the whole process easier.
You’ll need to draft two pattern pieces. One will be the exact size of the foam piece you want to use. The other will be your guide for heat-sealing. This piece needs to include an extra half-inch allowance around the entire pattern, because you’ll want to make the nylon shell a bit bigger than the foam core so you have a bit of wiggle room.
The only other thing to add to the pattern pieces is a hole for your valve. You can put the valve anywhere you want. I like to put it near the edge (about one inch inset), and somewhere along the top of the pad. If you use the same valves I do, a quarter is a perfect guide for tracing your valve hole.
Cut your foam to size using the smaller pattern piece, and cut out your valve hole. Then, cut your fabric to size. You need two identical pieces of your heat sealing nylon. This part is really important: You don’t cut your fabric to the size of the pattern piece. Just cut it in a rectangular shape slightly bigger than the pattern. Remember, you’re sealing along the edges of your bigger pattern piece, so the fabric needs to be even bigger than that. Then, trace and cut out the valve hole in one layer of the fabric, as well.
Sealing
You’re going to want to do a few test seals before starting on your actual project. Every fabric has a slightly different temperature that will work the best, and every iron is a bit different as well. In general, TPU-laminated fabrics like the ones we’re using will seal at a temperature somewhere in between 350 F and 420 F. To test, cut a few small strips of your fabric, and turn on your iron. Start at a low temperature. If your iron doesn’t have a digital temperature reading, you want to really dial this in carefully.
Put two pieces of fabric together with the shiny, TPU coatings facing in, and start ironing. You want to get to a temperature where the fabrics seal together after about 4 seconds. Let them cool, and try to pull them apart. It shouldn’t be easy. You’ll know it’s solid when the TPU laminate rips away from the fabric, rather than the two TPU layers simply peeling apart from one another. If they haven’t adhered together strongly, raise the temperature a bit and try again.
Creating Your Pad
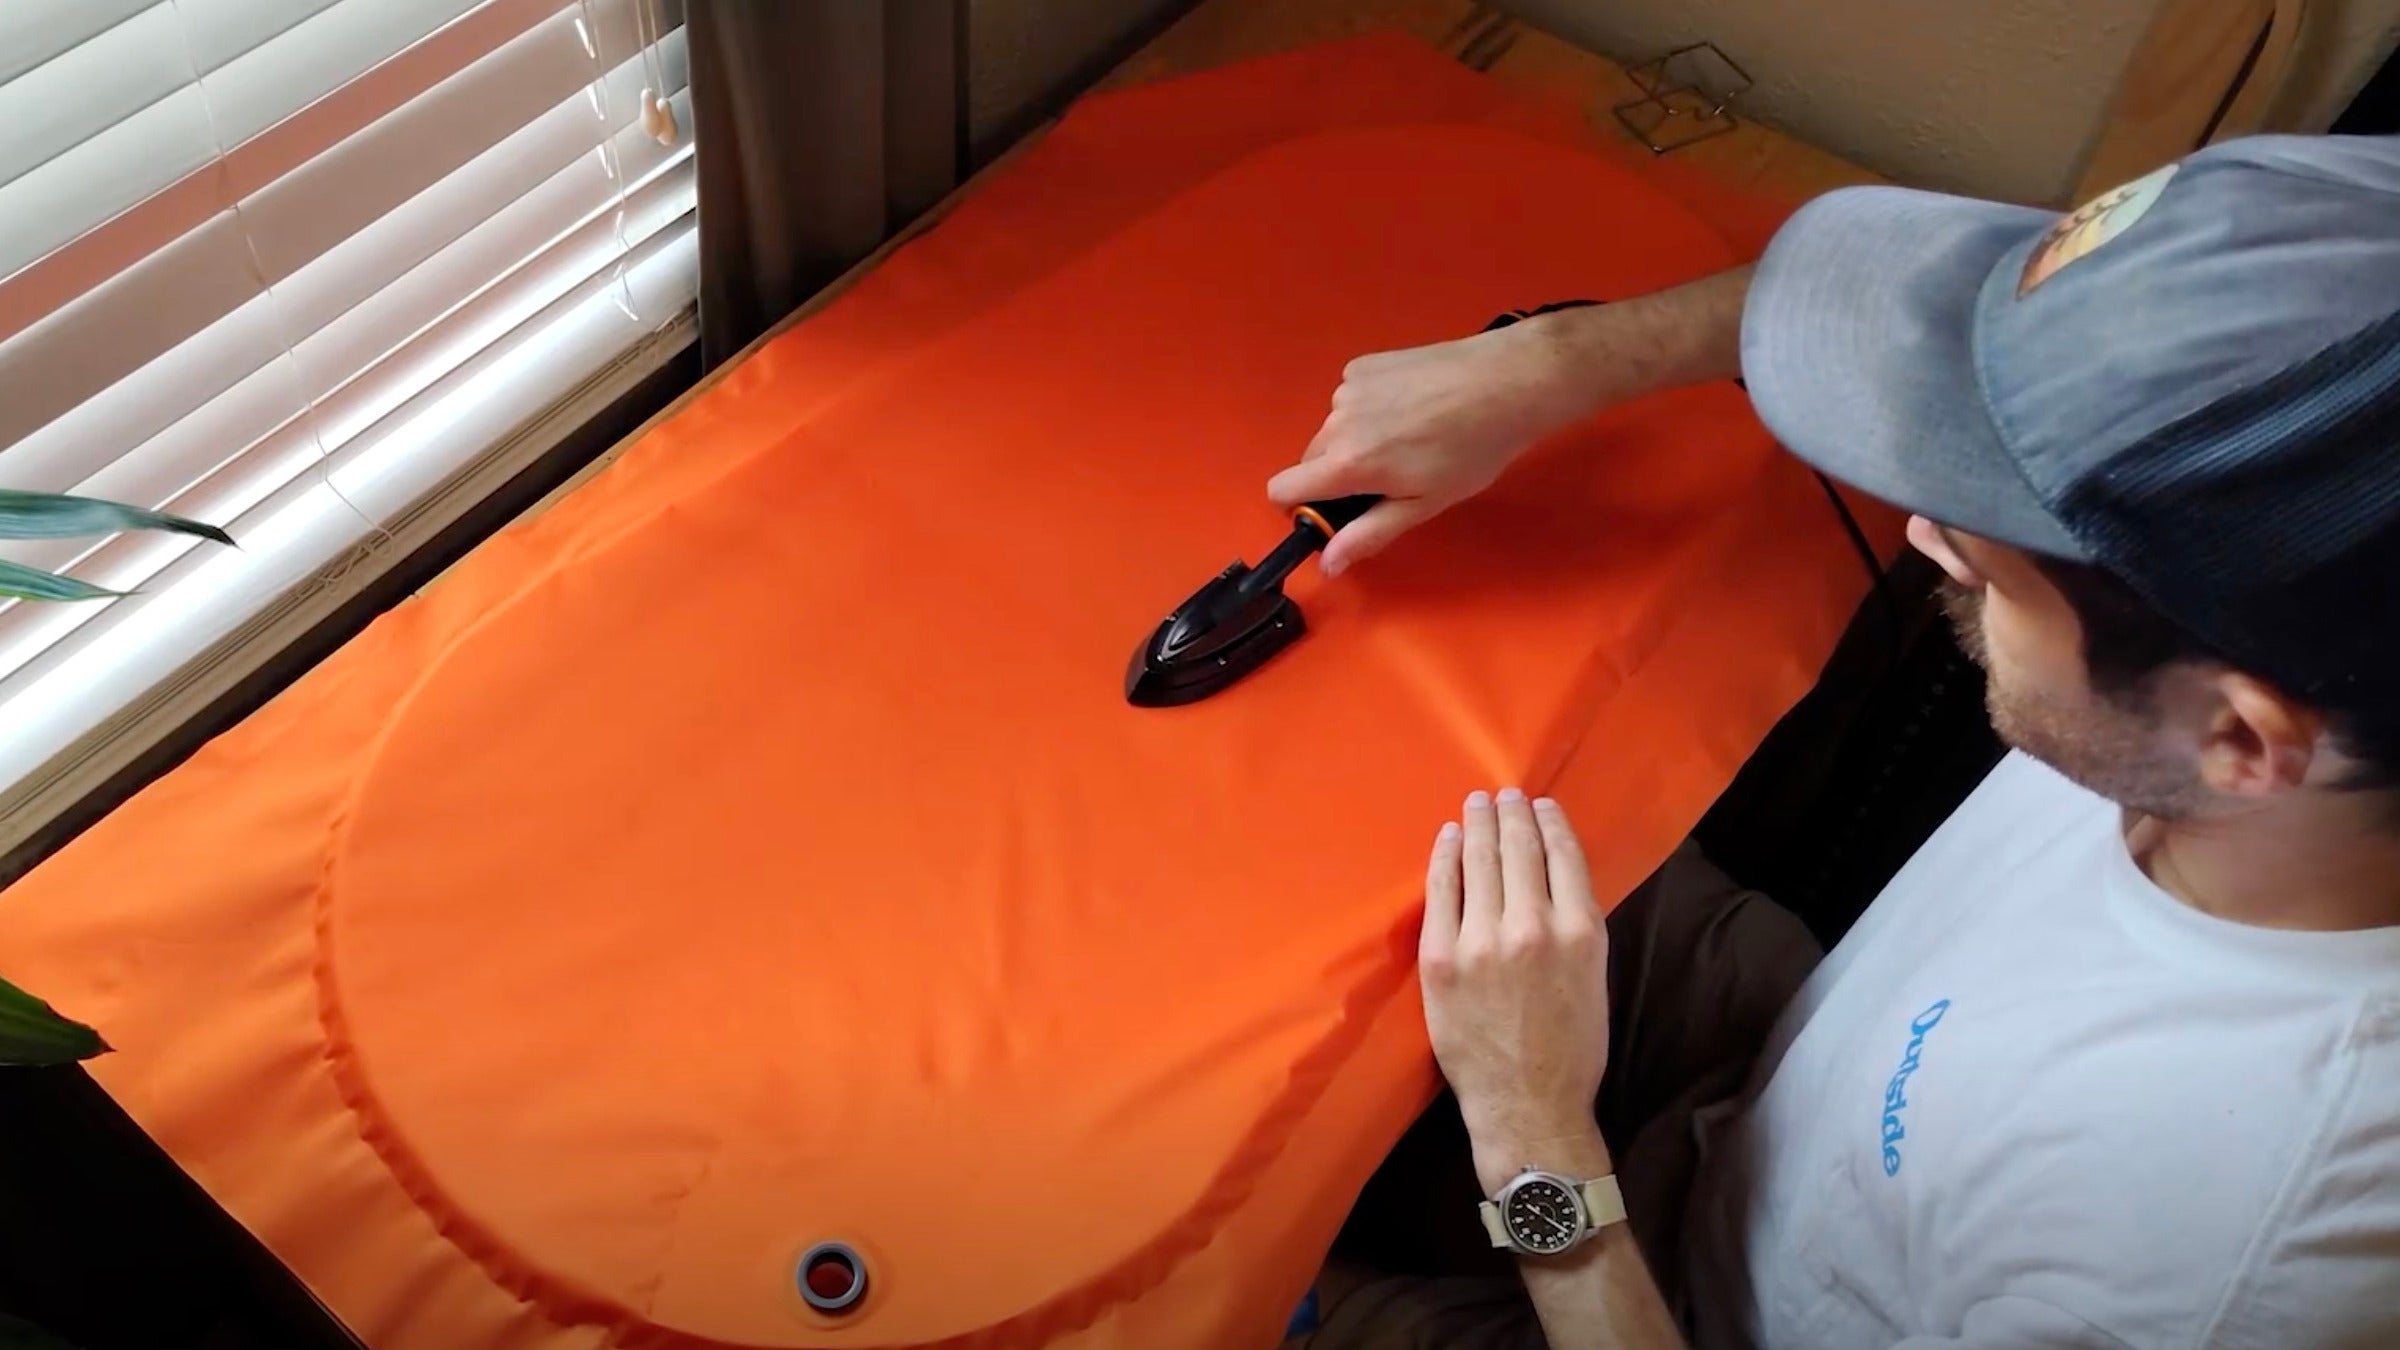
Once you have the iron temperature dialed in, it’s time to move on to sealing your pad together. Basically, the process is like making a grilled cheese sandwich, with the foam sheet sealed in between your two fabric pieces. You’ll seal around the edges, seal the valve, and finally seal the foam to the pad’s outer fabric.
For full step-by-step instructions, it’s best to watch the included video. But here I’ll include a few tips to keep in mind as you work.
- Move slowly. You’re sealing the entire pad together edge-to-edge, and that will take some time. Every inch of fabric and foam that you heat-seal together needs time to fully bond. If you move too fast, you’re risking a poor seal, which will pull apart once the pad is inflated.
- Take extra time around the air valve. The valve is a thick piece of TPU plastic, and won’t seal as quickly as the fabric or foam.
- After you’re done sealing, the best way to cut the excess fabric away is by running a pair of sharp scissors through the fabric, like you’re cutting wrapping paper. Aim to leave a heat-sealed seam of about a quarter- or half-inch all the way around the pad’s edge.
- To test if the pad is airtight, follow the same procedure you would to find a leak in any other pad. Fill a large sink or tub with water, and submerge the pad section by section, looking for bubbles. You can also fill a spray bottle with a solution of soap and water, which will form bubbles over any leak, and spritz the pad. The valve is a common trouble spot. If there are gaps around the edge seal, you can go back over small sections with the iron again. If you can’t get the valve to fully seal, you can add a thin layer of a urethane adhesive like Seam Grip or Shoe Goo.
When you’re done, finish by adding the stopper to your air valve.
Enjoy!
If you copied my design, you should be left with a completed pad that weighs between 11 and 13 ounces. It will pack down well, to about the size of a 32-ounce Nalgene. Just like a closed-cell mat, you can use it as a sit pad, in a pad sleeve, or as a makeshift frame in a frameless backpack. Your new pad might not be on the cutting edge of sleeping pad technology, but it will be durable and dependable. Plus, you’ll always have the extra satisfaction in knowing you made it with your own two hands.