I prefer watching sci-fi and action movies on the biggest screen possible to enjoy all the effects and details. Home projectors offer the closest thing to a cinematic experience at home but are never perfect out of the box.
You should always adjust your TV settings, and the same goes for projectors. Why settle for average when a few tweaks can bring out the best in your content? That’s why you should always change these settings on a new projector to improve the picture quality.
Picture Mode
Find the perfect setting

Most projectors have a bright default picture mode that looks impressive in a showroom but isn’t ideal for movies and shows. You’ll usually find options like standard, vivid, movie, custom, or game modes.
Movie mode provides natural colors and better contrast, making it the best choice for films. Vivid has high brightness and could be better when there’s more ambient lighting in the room. You can also use the custom mode to fine-tune the settings to your liking.
I usually leave my projector in movie mode for most content and only switch to game mode when I’m on my PS5.
The truth is that everyone has different preferences, and it’s worth testing them all to see which you prefer. I usually leave my projector in movie mode for most content and only switch to game mode when I’m on my PS5.
Brightness
Not too high or low

Your projector’s ideal brightness depends on factors like its lumen output and ambient lighting conditions. Dark scenes lose their depth and look grey rather than black if the brightness is too high. They lose their detail and become murky if it’s set too low.
Projectors often include modes like eco, auto, standard, high-performance, and custom. Eco usually compromises performance, and I never use it. Auto adjusts brightness depending on ambient lighting, while high-performance boosts it to maximum, but often makes the projector louder due to its faster fan speed. I either leave it on auto or switch it to custom if I think it’s too high or low.
Contrast
Find the perfect balance

Contrast is the difference between the lightest and darkest parts of the screen, and you get the best picture quality when they are balanced. Many projectors integrate the contrast settings into picture modes while others allow separate calibration.
Getting these settings right results in crisper, sharper images and better overall quality.
The easiest way to manually adjust contrast is with a reference image. Find an image that contains both light and dark parts and adjust the contrast accordingly. Ideally, you want the light parts to maintain their detail without looking washed out. The dark parts should have depth and detail without being too bright. Getting these settings right results in crisper, sharper images and better overall quality. I usually set my contrast to between 40 and 60% depending on the projector I’m using.
Motion smoothing
It’s not for everyone

Motion smoothing is a controversial love-it or hate-it feature on TVs and projectors that’s meant to reduce motion blur. It works by guessing what should happen between the real frames of your video content, then adding artificial ones between them. So if you’re watching a movie shot at 24 fps, motion smoothing can increase it to 60 or 120 fps. This feature works well for fast-paced sports but makes movies look unnatural and strange.
Motion smoothing is often labeled as Motion Estimation and Motion Compensation (MEMC). You can usually switch between low and high settings or disable it entirely. Every projector is different, and it’s best to try each setting to see which works best for you. I usually disable it and never touch it again.
Auto keystone correction
Maximize your screen size

Auto keystone correction is an excellent feature that makes setup easier and faster. However, it can reduce your image size and quality depending on your projector’s positioning. A projector lens must be perpendicular to the screen to deliver a perfectly rectangular image. If it’s too far to the left or right, the projected image becomes a skewed trapezoid shape.
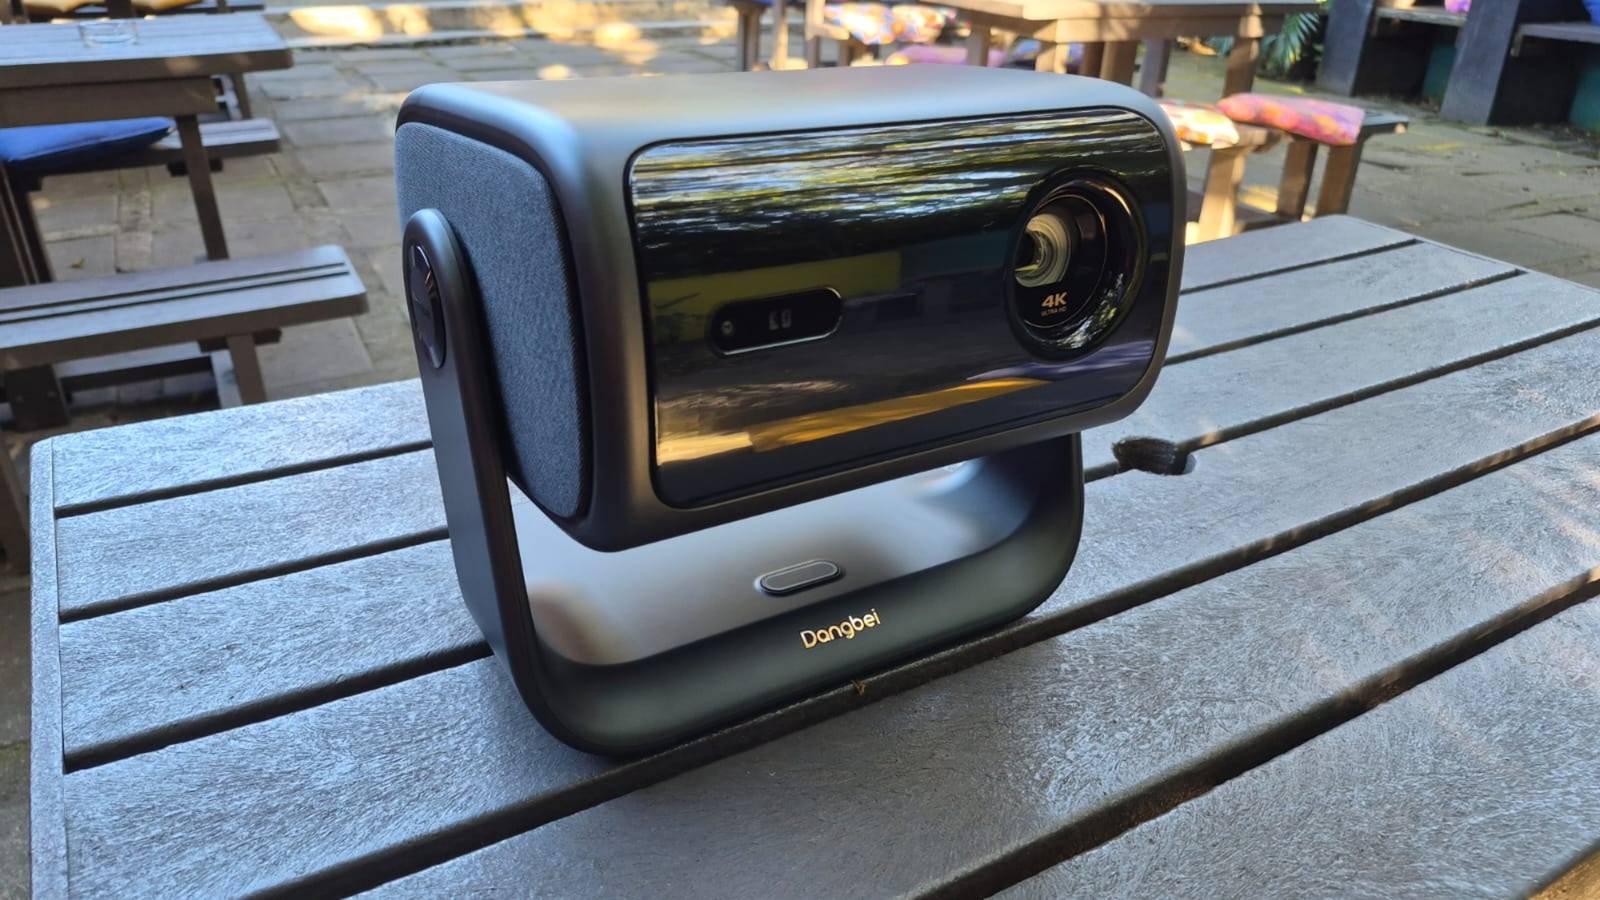
This is when auto keystone correction kicks in to fit your onscreen image within the trapezoid. For example, my Dangbei projector will display a movie at roughly 200 inches when it’s in line with the screen, but reduces it to around 100 inches if I turn it sideways.
Manual keystone correction is fairly straightforward on most projectors and only takes a few minutes.
Manual keystone correction is fairly straightforward on most projectors and only takes a few minutes. It usually displays the uncorrected trapezoid shape, and you must click on each corner and move it to form a rectangle. I don’t mind using auto keystone correction in a pinch, but prefer a manual setup when I want the best screen size and image quality.

- Brand
-
Dangbei
- Native Resolution
-
4K
- Projection Technology
-
LED and laser hybrid
- Audio
-
2 x 12W speakers
- Mounting Type
-
Integrated stand
- Ports
-
2 x HDMI, 1 x USB-A, 1 x 3.5mm