Why it’s happening: If you own a mirrorless or DSLR camera, you probably think of ISO as a variable that you can change on the fly in response to changing light. But with film, ISO is a property of the film itself, so you’re stuck with it for the entire roll. That makes picking the right ISO for the conditions you’re shooting in crucial, and for a beginner it’s not always obvious what ISO is best.
And if you’ve never done any kind of non-phone photography before, you might be totally lost. So here are the basics: ISO, also known as ASA, is a measure of how sensitive film is to light, and it’s also referred to as the film’s “speed.” A higher number is faster (more sensitive), while a lower number is slower (less sensitive).
With faster film, you can get an image with a shorter exposure or less light, while slower film needs longer exposures or more light. ISO is a key part of the exposure triangle, along with shutter speed and aperture.
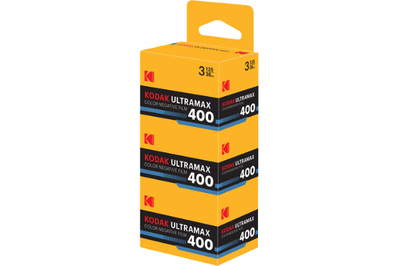
This 400-speed color film works well in lots of lighting conditions and delivers realistic, punchy colors.
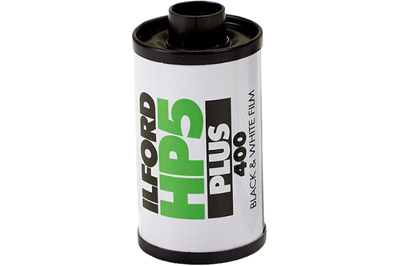
This time-tested, 400-speed, black-and-white film is a great place to start for moody monochromatic photography.
How to fix it: Unless you have a preloaded disposable (and therefore can’t choose your film), it’s best to focus on 100-, 200-, and 400-speed film stocks. These are the most economical and easiest to find.
Whether you prefer color or black-and-white, I recommend sticking with 400-speed film and riding that out until you get comfortable. Kodak’s UltraMax is a great beginner 400-speed color film, while Ilford HP5 Plus is my favorite for monochrome.
Though 400 ISO film is typically grainier than 100 speed (a slower speed generally means finer detail), it gives you much more flexibility in low light, so you can more easily get good shots in a variety of conditions.
Ultimately, if you stick with one film speed through several rolls, you will get used to which lighting conditions work well and which don’t, which will lead to more consistent shots.