Sunday, June 7, 2026
HomeCamera Gear5 Tips for Improving Pet Photography

5 Tips for Improving Pet Photography


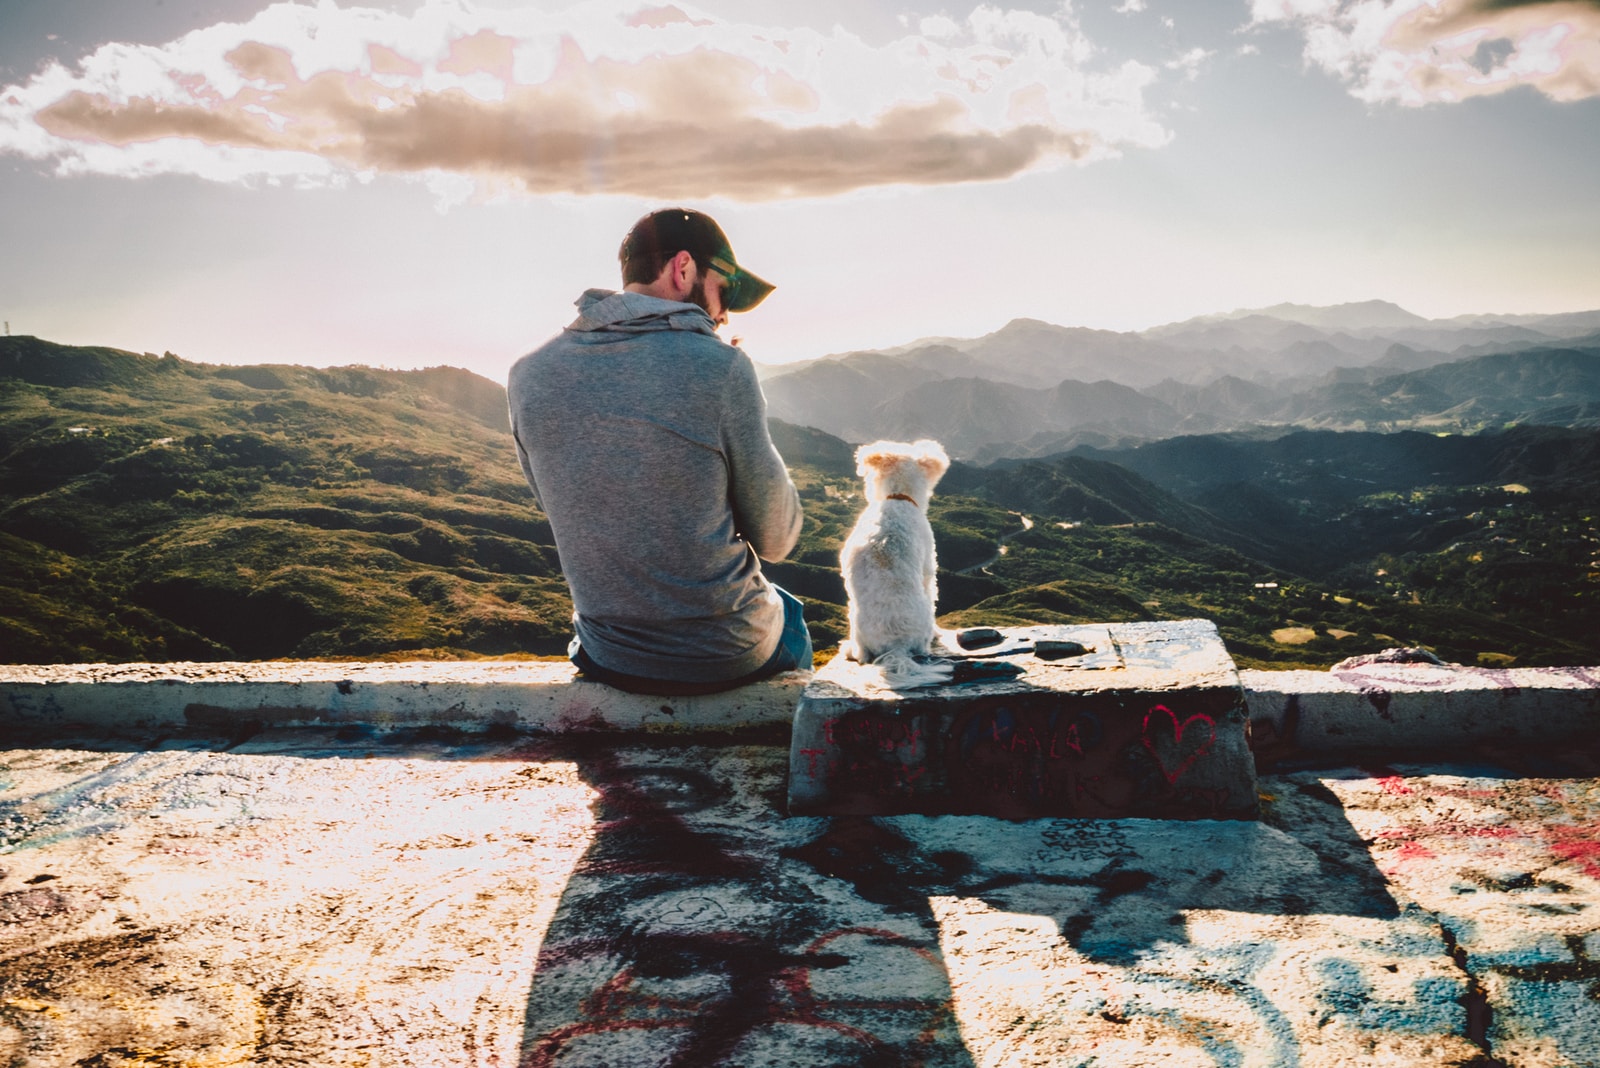
We’ve all seen a photo of somebody’s pet on social media that is just amazing. Then wished we had a photo of our own pet like that to hand in our house. 

We display pictures of those we love because those reminders bring a warmth to our home. We also can use our photography skills to make a heart-warming gift for someone we love.

While you won’t be able to go out and be a professional photographer by just reading this article, these tips, if practiced, really can help you get that amazing shot you want.

Jump to the quick tips

DIY Pet Photography

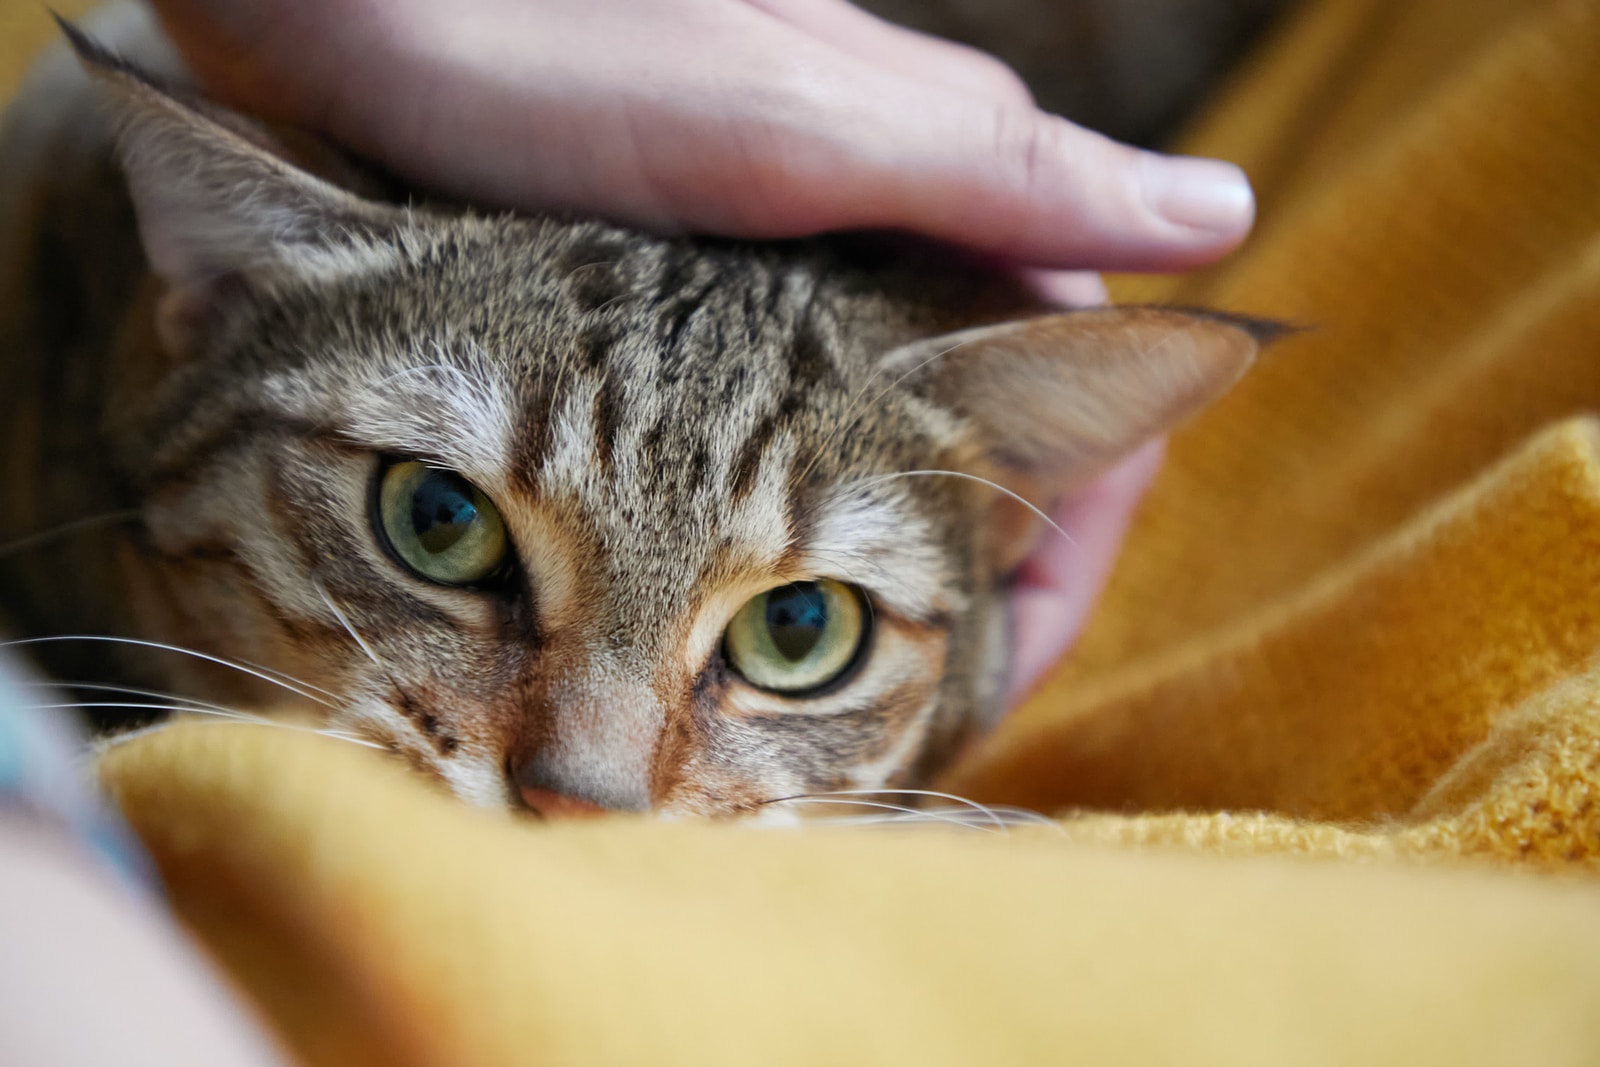
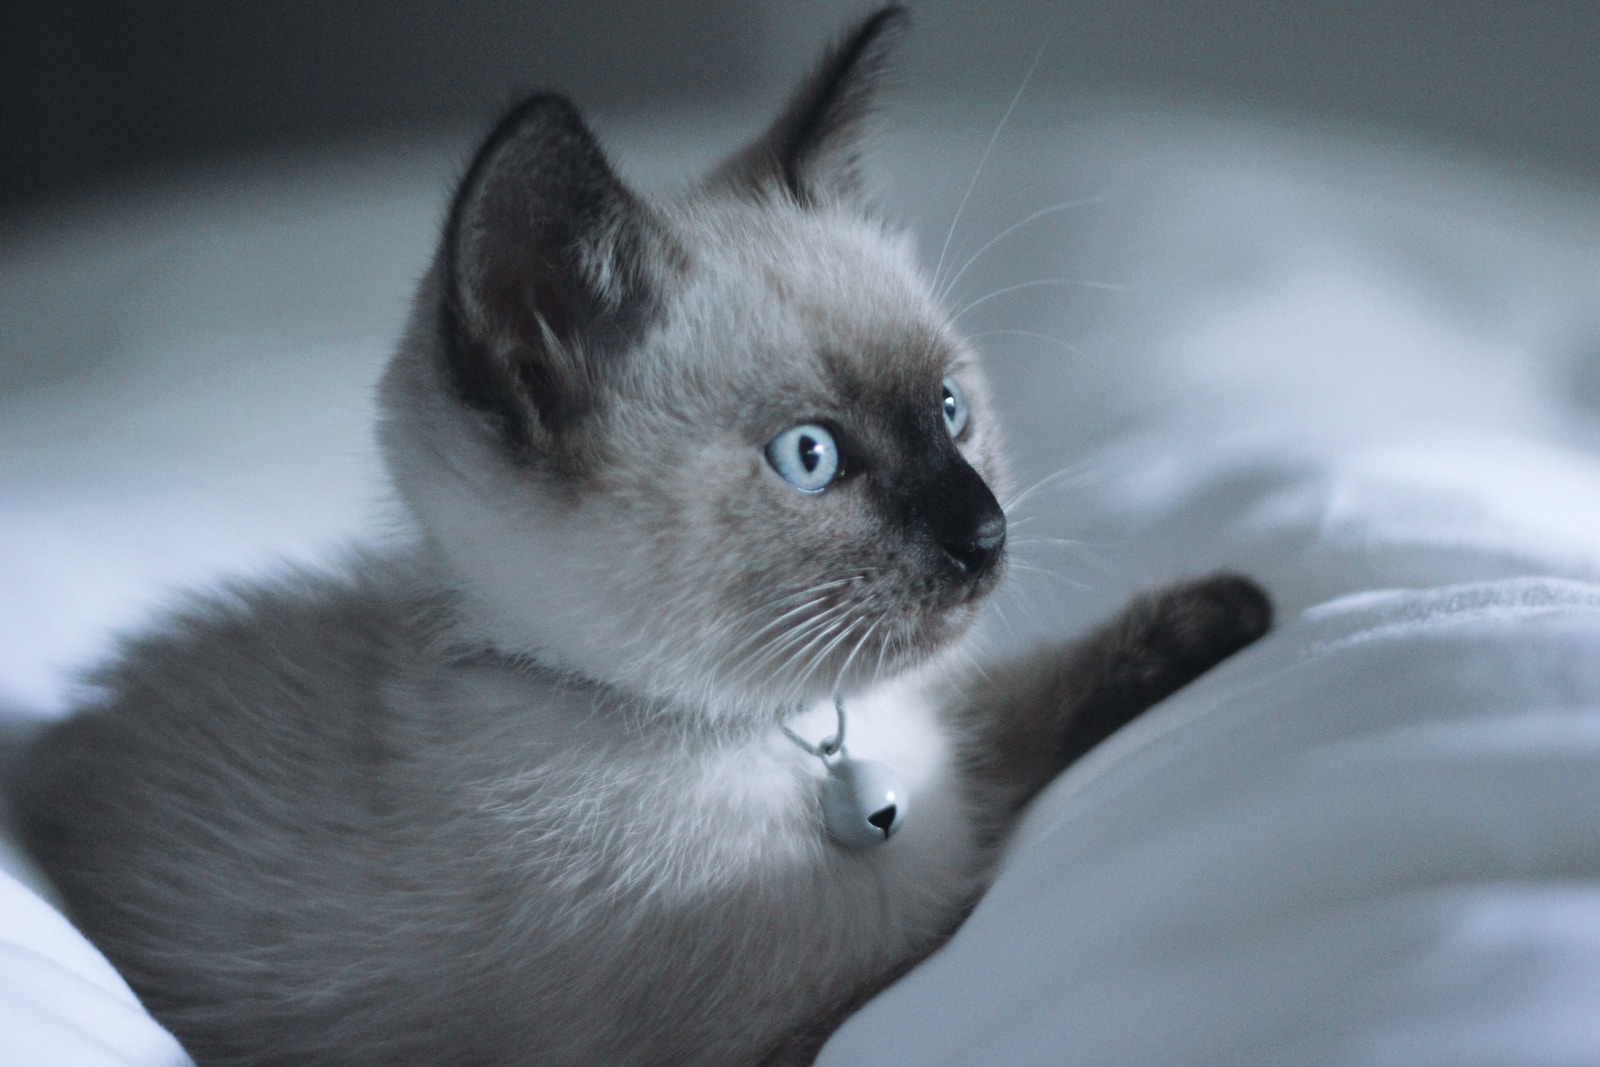
You could set up a pet portrait session with a professional, but there is the one thing you have that will always be an advantage over any professional. You know your pet. 

Knowing the personality and character of your pet gives you an advantage of snapping that shot that perfectly captures them. So, with these easy to apply tips you can get those professional looking shots on your own.

By doing the photos yourself you can save from 60%-80% compared to a standard pet photo session. That’s even if you have to rent the gear!

If you already own the gear and lenses, you need then there may be virtually no cost at all. To check to see if you have the right lens specs here’s a quick reference guide for what makes the best lens for Pet Portraiture.

RECOMMENDATIONS FOR PET LENSES
FOCAL LENGTH APERTURE TYPE LENS
70mm – 200mm f/2.8 or Larger Telephoto Zooms & Primes


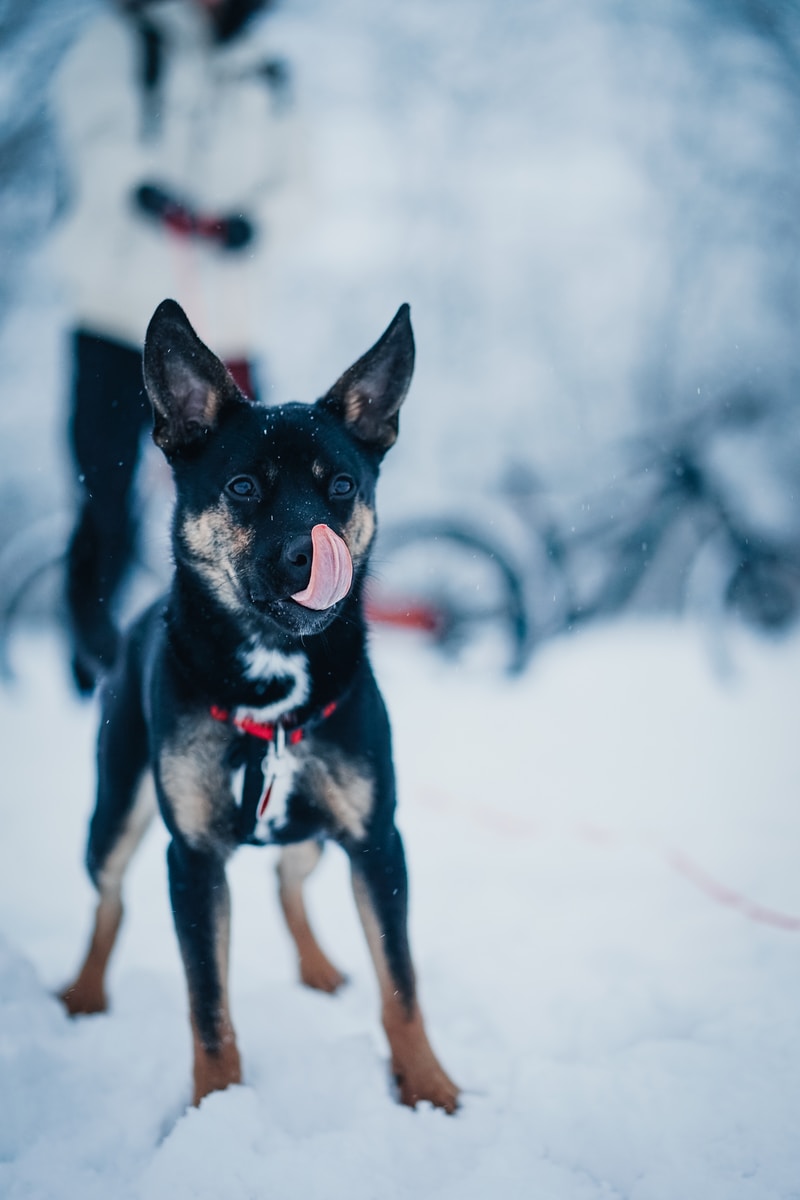
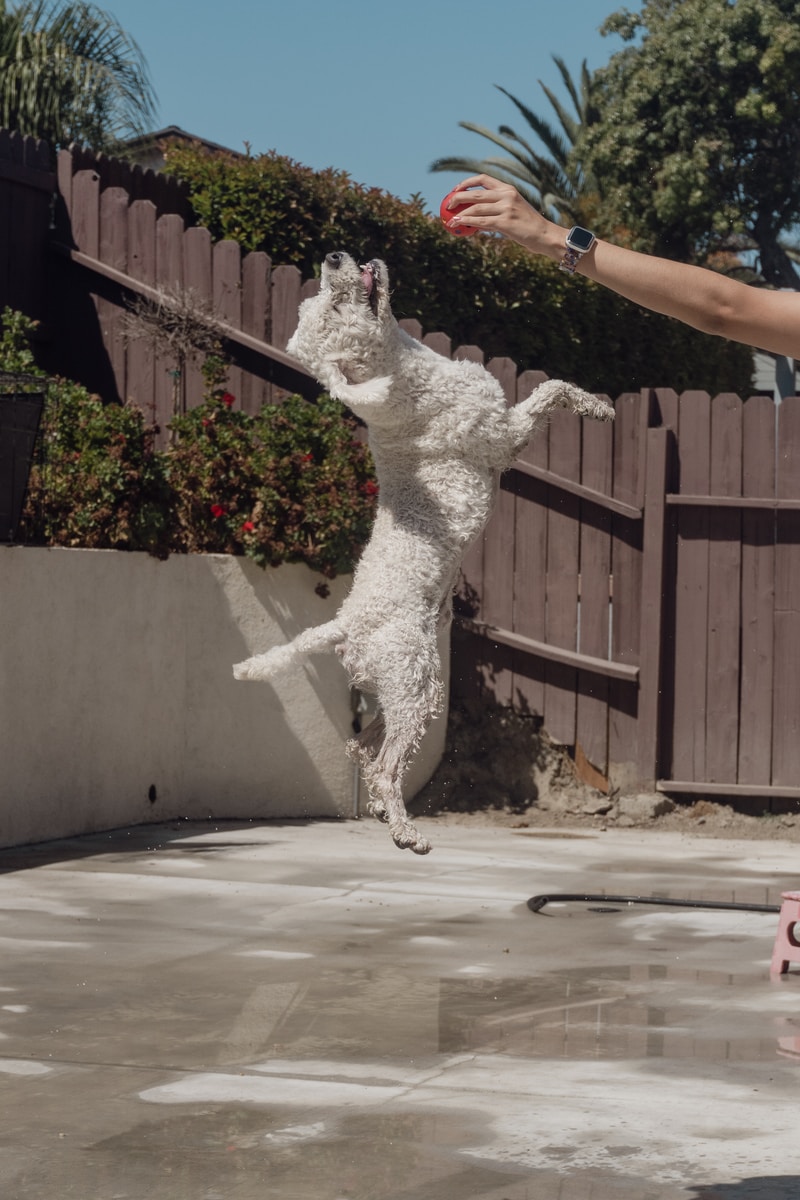
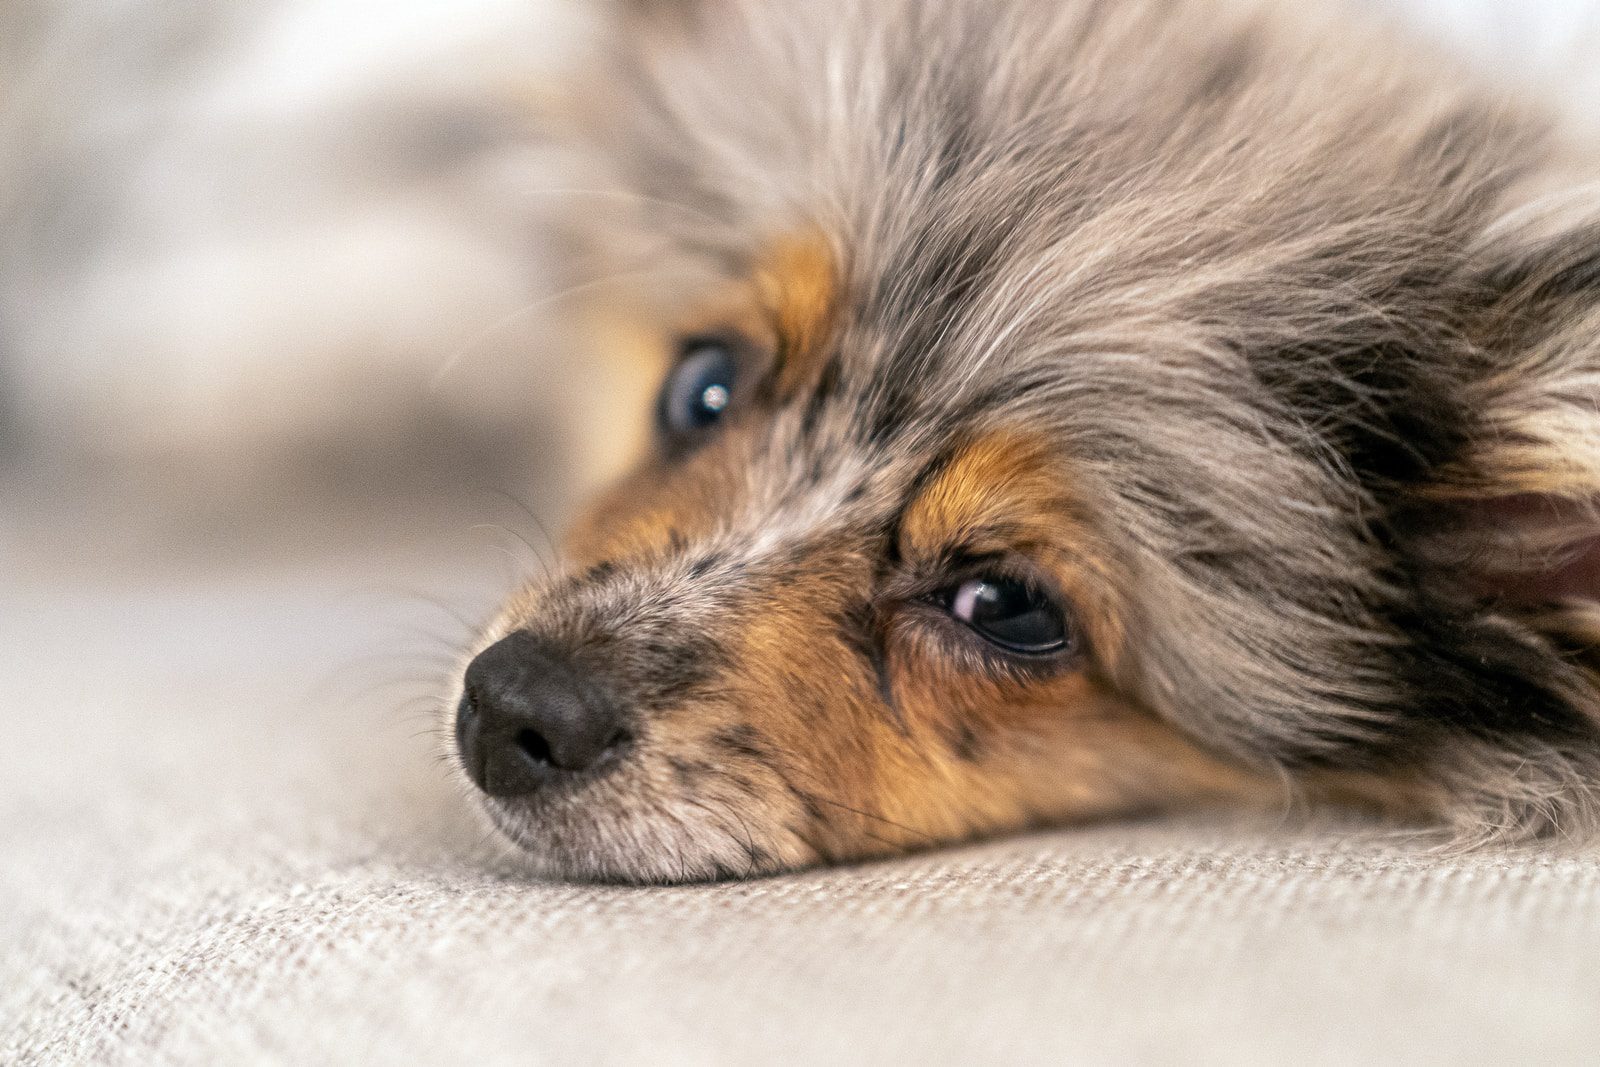
Depending on the demeanor of your pet it may be challenging to get them to stay still for a staged shot. So you may consider getting some candid shots of your pets doing what they love, playing with their toys or maybe running around the yard. I’m assuming we’re not talking about a fish here.

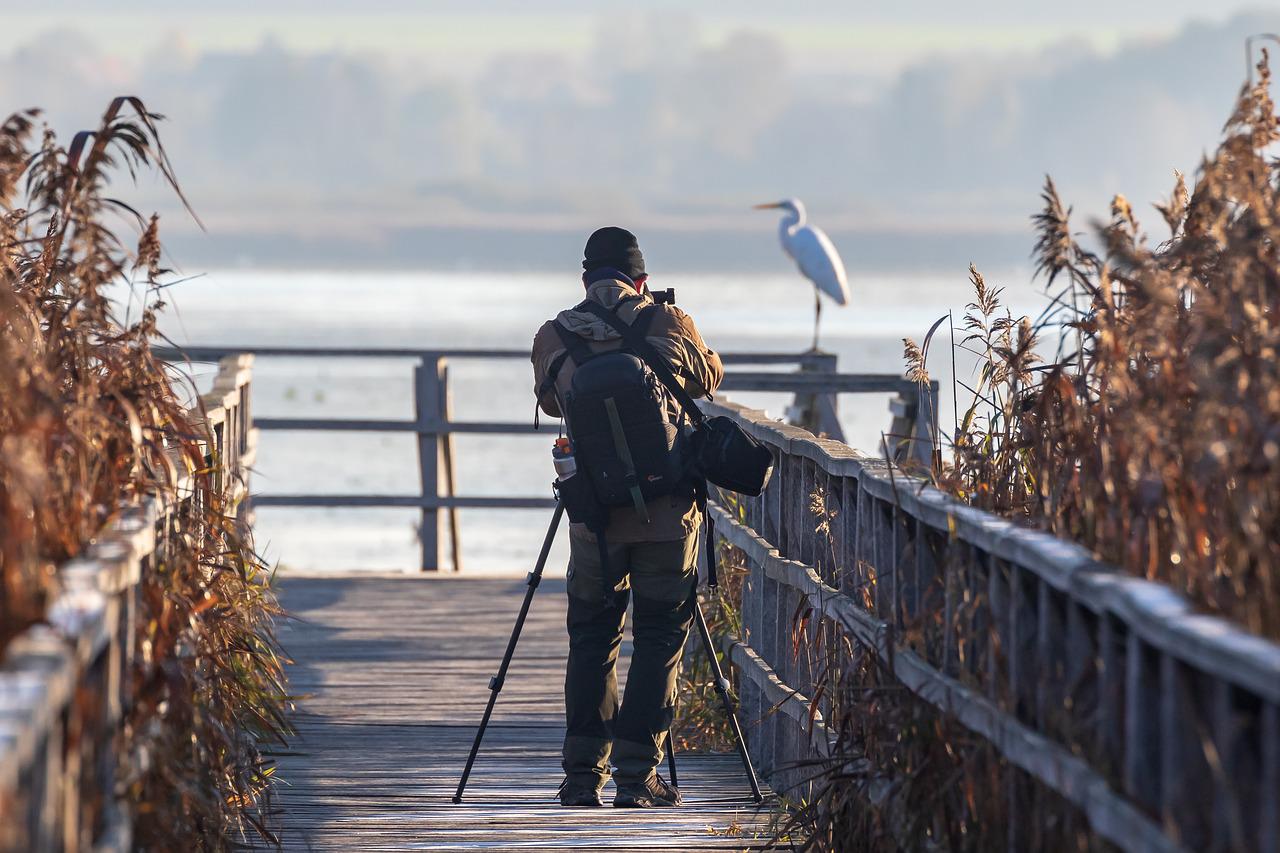
If the animal you’re photographing is not yours then you’ll want to spend some time getting to know the animal. Try to get a feel for how the animal reacts to different stimuli and if you can ask lots of questions of the owner.

Make sure you know their favorite treat too!

Personality of the animal is a huge factor in the best type of lens to use, although you can always work with what you have. If you’re planning on candid shots a good Zoom lens will help you quickly frame a shot as you react to the moment. While a Prime is generally going to give you a sharper image if you’re able to slow down a bit and move into the position you need to.

Either way, you’ll want to make sure you have a good autofocus. You probably won’t have a lot of time to dial in with a manual focus.

5 Tips for Improving Pet Photography

Quick DIY Tips for Getting Better Photos of Your Pet

1.

Get the right lens (The best pet portrait lenses are between 35mm to 200mm)

Choose the right focal range
The long focal length here creates a tight shot where you feel the connection between the pet and the owner

2.

Assess the area (room, park, etc.) to find the angle and background you want; a bad background can ruin a great photo

Choose the right background
Here the background helps connect you with the dog’s owner

3.

Use a large aperture, you can do this within in the Aperture Priority Mode or if you are using manual settings. You don’t have to stick with a large aperture, but that’s a good place to start

Fast Aperture Pet Lens
A large aperture will help with low light situations

4.

Change to Continuous Drive or Burst mode so you are more likely to capture the shot you want

A fast shutter speed and continuous drive/burst mode makes this shot possible

5.

Use a fast shutter speed. If you’re just hand holding your camera, a good rule of thumb is to use a shutter speed that is faster than the length of your lens. So as an example, if you have a 85mm focal length you would want to set your shutter speed to something like 1/100sec

Freeze the Motion
Have the shutter speed fast enough to prevent any camera shake or sudden motion form your pet

DIY Tips You Don’t Want to Forget…

  • Be patient!

You’re not in charge here, so give yourself more time than you think. That extra time will help you not be distracted by what you have to do next.

  • Ideally you want to have your ISO close to 100

With your aperture and shutter speed settings you may not have the luxury of a really low ISO with the given lighting conditions. But the lower your ISO the better image quality you’ll have to work with in post-production.

  • If you decide to use a shallow depth of field make sure to be precise with your focal point

If there are a lot of elements surrounding your pet, such as branches, leaves, etc. you’ll probably need to switch to manual focus to zero in on the best focal plane.

  • You may also want to switch to a silent shutter if you think the noise might distract your pet

In some cases the click may get the attention of your pet so you can get a shot of it looking at you

  • Prepare by getting your camera settings the way you want them, as well as how to quickly change them if needed

The more you are able to anticipate what your pet might do the better you’ll be able to get a shot you love.

Improve Pet Photography

Final Thoughts

Now you’re armed with the knowledge to get results like the professionals. It’s still going to take practice and trial and error, but just go get started.

Once you display that picture that you took, you’re going to feel really proud. Or if you take the photos to make a gift for someone else you love they are going to be really excited. 

So what are you waiting for, go get that amazing shot you want.

Related Articles

The post 5 Tips for Improving Pet Photography appeared first on Best Photography Gear.

RELATED ARTICLES

Most Popular

Recent Comments